How to Install ESXi 5.x & 6.x
The screenshots are of 5.1. but the setup is almost the same, if not the same to all versions up till 6.5.
When you are installing an ESXi host, it is best to use an ISO file that comes directly from the official site of your manufacturing vendor, for the installation of your host. This can be Dell, HP, Cisco, etc. With this, the necessary hardware drivers are included in the setup. ESXi can be installed on almost all systems which allow virtualisation. This is a setting that have to be turned on in the BIOS/UEFI, but most recent systems almost always support this. Even laptops support this nowadays. You can also download a general ISO from VMware, which I have done as well for my own home testlab.
Before you start
Always check if your hardware is supported by VMware when using it in a production site. It can still work even when it doesn’t say it on the official VMware site, but will most likely not gain any support of VMware. When using it in a lab environment there are a few things you should definitely need before installing.
- Does your motherboard support UEFI or only BIOS?
- This is important since ESXi default only works on UEFI when installing the OS. You can however change this during the install, so that the OS will be installed with BIOS support.
- This is discussed in a different post, so check it out if this is the case for you.
- Your motherboard needs to support hardware virtualization. This can be Intel VT-x or AMD RVI. Without it, no ESXi for you.
- There are more things that you should consider and are all documented on VMware’s official website. But if you’re are just using this as a homelab, then those two options are the most important.
Alright let’s get started.
How to deploy the OS?
There are different methods for installing an ESXi host. For my own lab I made an bootable usb with the software Rufus. Which is a free and powerfull tool that I use all the time and can be downloaded here. I will write a separate article of how to use Rufus, but it’s actually quite straightforward. Another way to install ESXi is of course by burning a bootable cd, but this is my opinion a waste of resources since the OS is most of the time only around the size of 340mb. If your vendor support it, you can also deploy this by using a remote management console on the physical machine itself. This can be ILO for HP systems, iDRAC for Dell or CIMC for Cisco UCS systems. This a lot easier since you can select the ISO from a network drive and deploy it directly to the host itself. To use this the vendor needs to support it and you do have to setup the management console first before you can of course make use of it. One of the last possible methods is by doing a network boot or a so called PXE boot (Preboot execution environment).
In my case I’ll install the ESXi host trough usb, but I’ll write a separate article in the future for PXE boot.
Once you start the boot-up of your machine, it may be possible that it doesn’t detect the ISO from your console or the USB. To fix this, go to your System Setup Settings in the BIOS. Most of the time you enter this by pressing F2 during boot up, but check this to be sure. There you need to go to System BIOS Settings and something in the like of “Boot BIOS Boot Settings” or “Boot Sequence”. There you need to put your temporary virtual media or USB disk up. USB disks can sometimes fall under Hard Drive, so be sure to check that as well.
Then you can start installing.
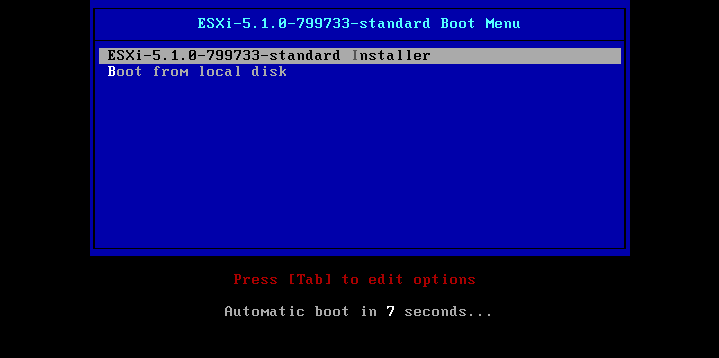
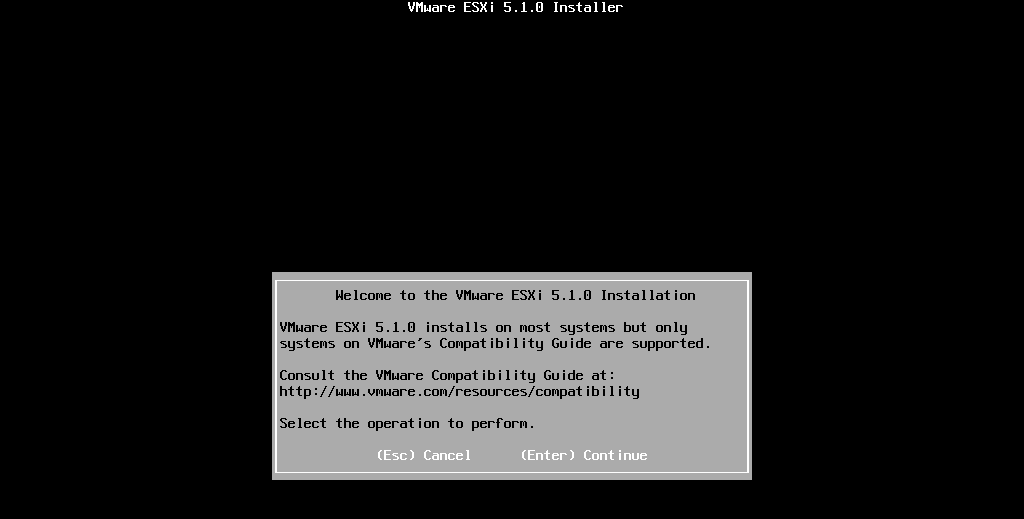
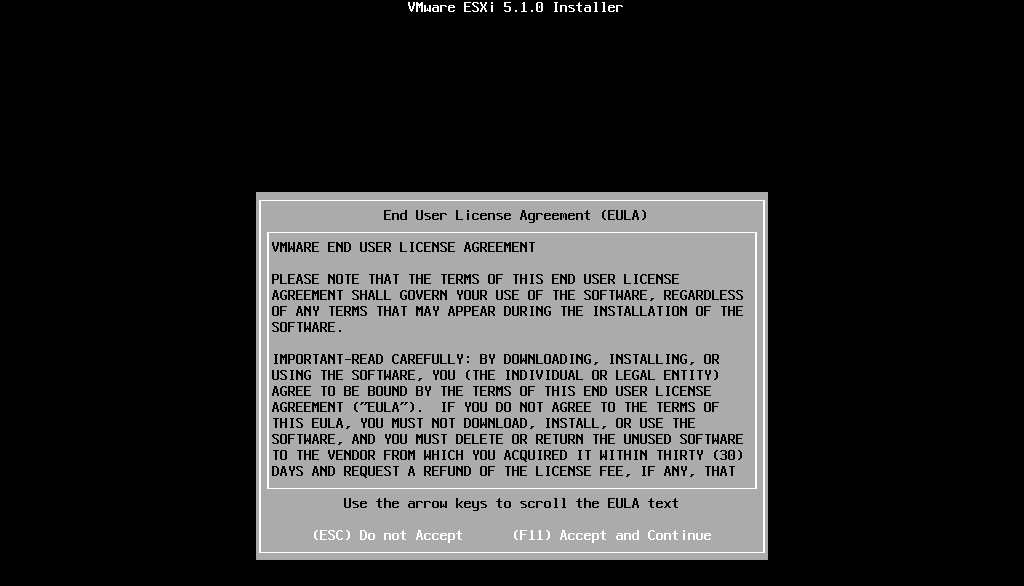
Press Enter
Press F11 to Accept and to Continue
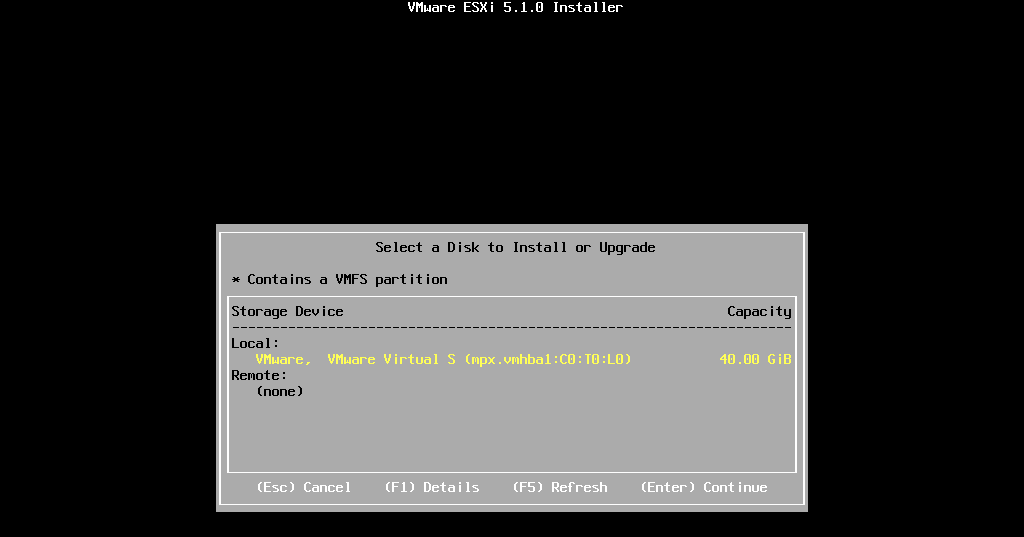
Here you can choose were you want to install the OS. It is possible so install it onto another usb drive or internal SD Card, instead of an hdd or ssd. I would recommend to install the OS just on an usb, especially when you are using it as a homelab. Since the installation files are only around the 300/400 mb and are only used during boot-up. After that the OS will run in your memory.
Select the Keyboard that you want to use, this can always be changed afterwards.
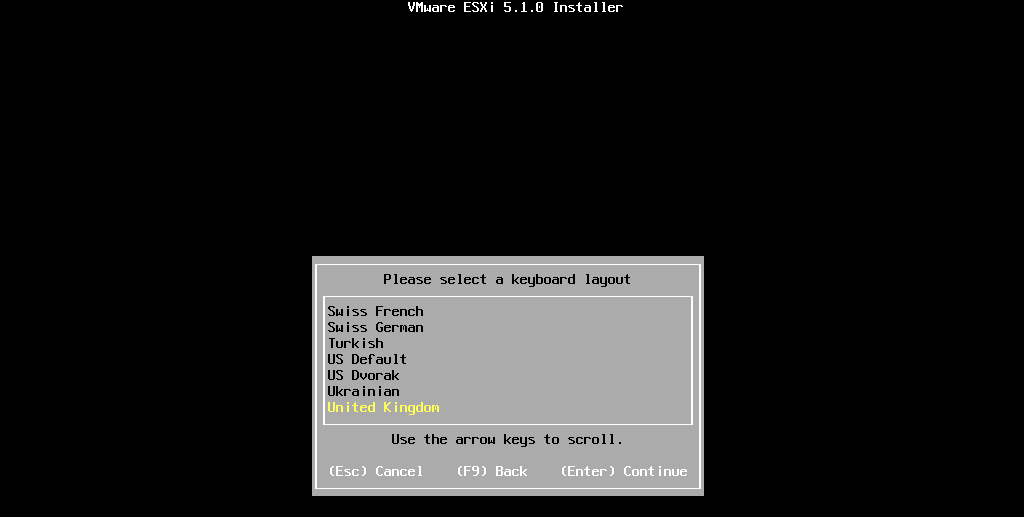 *Side note: Since I work in Belgium, I have a lot of customers who want their keyboard language to be in Belgian Azerty. This is no problem, but I would recommend that during the install you choose US Default (qwerty) if you can type that way. The reason is that some characters in a different languages doesn’t always to seem to work properly. This happens a lot with the “@” character, since in a belgian azerty keyboard it needs multiple key’s to use that character. This is a weird bug, but unfortunately it is there. Sometimes it works perfectly but sometimes it doesn’t, which can be very problematic when you type your password in the next screen and find out after the complete install that you can’t log in. Trust me I’ve had it a couple of times already. So I always install it in US default and change it afterwards for the customer.
Next, specify here the password for your root account
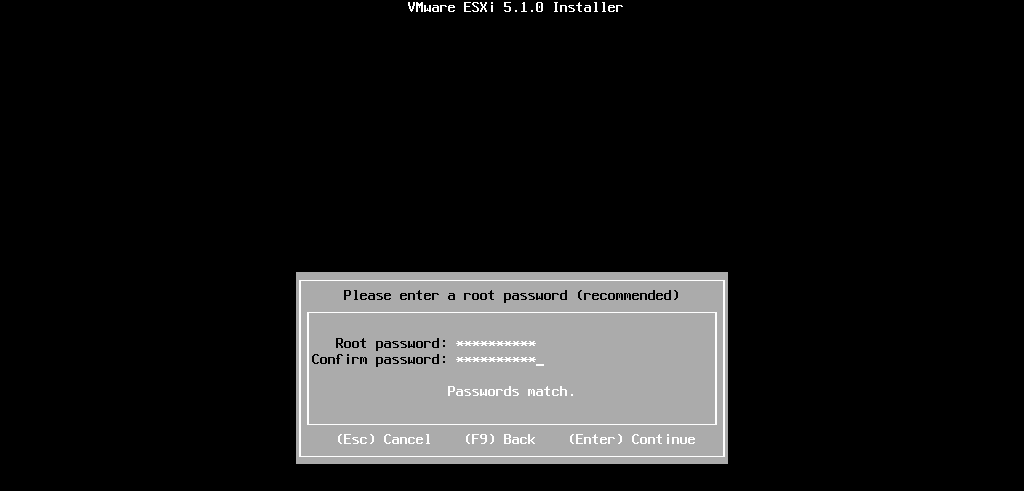
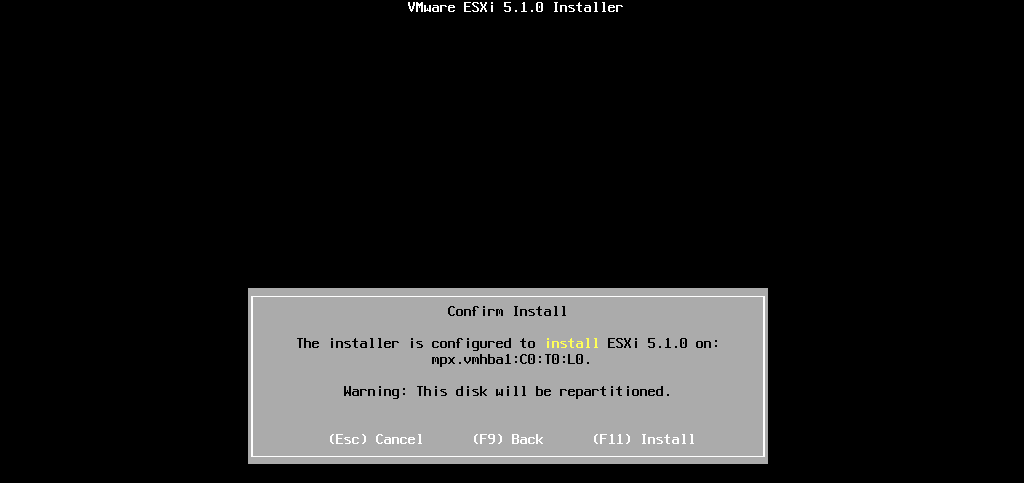
Press F11 to Install
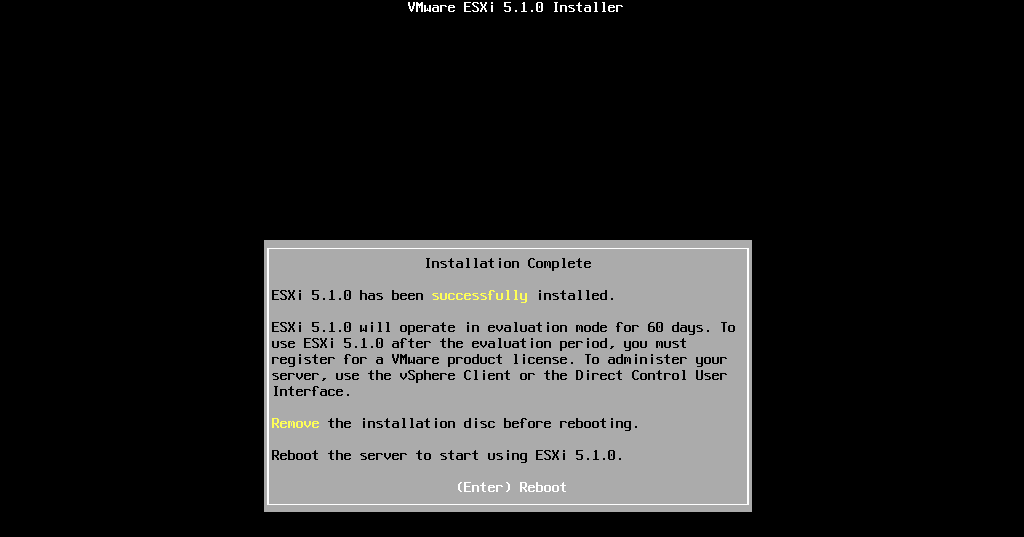
After setup – Reboot.
Be sure to remove the device that initiated the installation. Otherwise it will most probably boot-up the installation again.
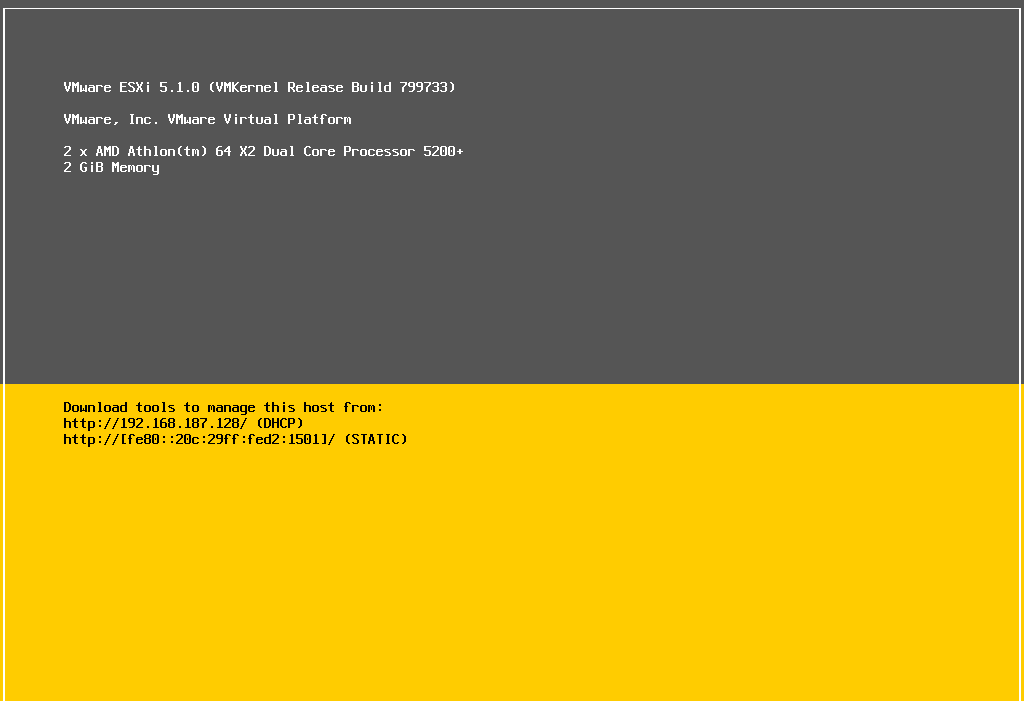
After the reboot, we need to give the host a fixed IP address.
Press F2 and enter the root password
Then select “Configure management Network” –> “IP Configuration” enter the static IP and fill in the following information
IP:
subnet:
Default Gateway:
Then select “DNS Configuration”
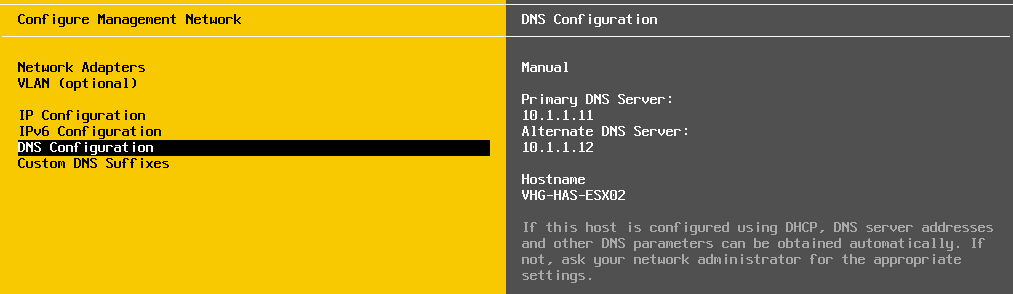
Enter the following information.
Primary DNS Server:
Alternate DNS server: e.v.t.
Host Name:
You also see the section “IPv6 Configuration”.
A lot of companies still don’t use IPv6 traffic, and therefore I tend to turn it off. This way the system becomes more secure and generate less traffic. VLAN is optional to configure, but most of the time you won’t need to do this. This is by the way quite important that you do this correctly, since a misconfigured VLAN won’t allow you to log into the machine. A common mistake that people make is the fact that an administrator or a network engineer tells the engineer that does the staging that the management network of the ESXi is in VLAN x. This can be true and also configured on the physical switches but you shouldn’t configure it here if you are not using trunking. Which means that different type of VLANs are going over the same NIC. When multiple VLANs are going over a single or redundant NIC you need to define the management VLAN, if not then you don’t. In most cases you don’t and especially when you don’t make use of VLAN’s in your home lab.
Next, choose the section “Network Adapters”
Here you can choose which NICs you want to use to enable for your management network.
This will also be reflected in the standard vSwitch0, which is created during the install and you can view once you login using the vSphere client.
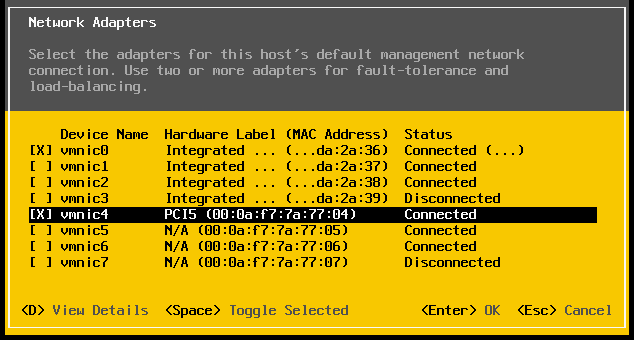
Normally you want to have redundant links and separate your traffic based on the type of traffic or load. Best practice in a redundant setup, is to use each redundant link on a different NICs (Card). This way you’re sure that when a whole Network Interface Card goes down, that the redundant links are not affected. The above screen is also a great place to identify the name for your physical NIC ports. A physical NIC port will be translated in VMware as a vmnic. This is the physical translation to the virtual nic, which you are going to use later on in one or multiple vSwitches.
In general, the onboard NICs are the first vmnic0 up till 3, and an extra NIC module often the goes from vmnic4 till vmnic7. Note, however, that the numbers on your physical card are not necessarily in the same order as the physical order that you see on your host when it is translated into a vmnic. Often the onboard NICs are standard okay and do follow the same order and count up the same way in vmnics. But with an extra NICs module, it can be that physical nic1 in the 2nd module is vmnic7, and pnic4 is vmnic4 (Going to opposite way around). So test this in advance just before you choose the wrong vmnic in your vSwitches. A simple way to test this, is by placing the network cable in a NIC port and see which vmnic is connected in the console and which ones are not. You need to exit the screen and re-enter it to see the change happen.
Alright that’s it.
You are now ready to start using or playing around with your VMware Hypervisor.
Enjoy.

Samir is the author of vSAM.Pro & a Life enthusiast who works as a consultant in the field of IT. With a great passion for Tech & Personal Development, he loves to help people with their problems, but also inspire them with a positive outlook on life.
Besides that, he is also a big Sport & Music junky that loves to spend a big chunk of his time on producing music or physically stretching himself.