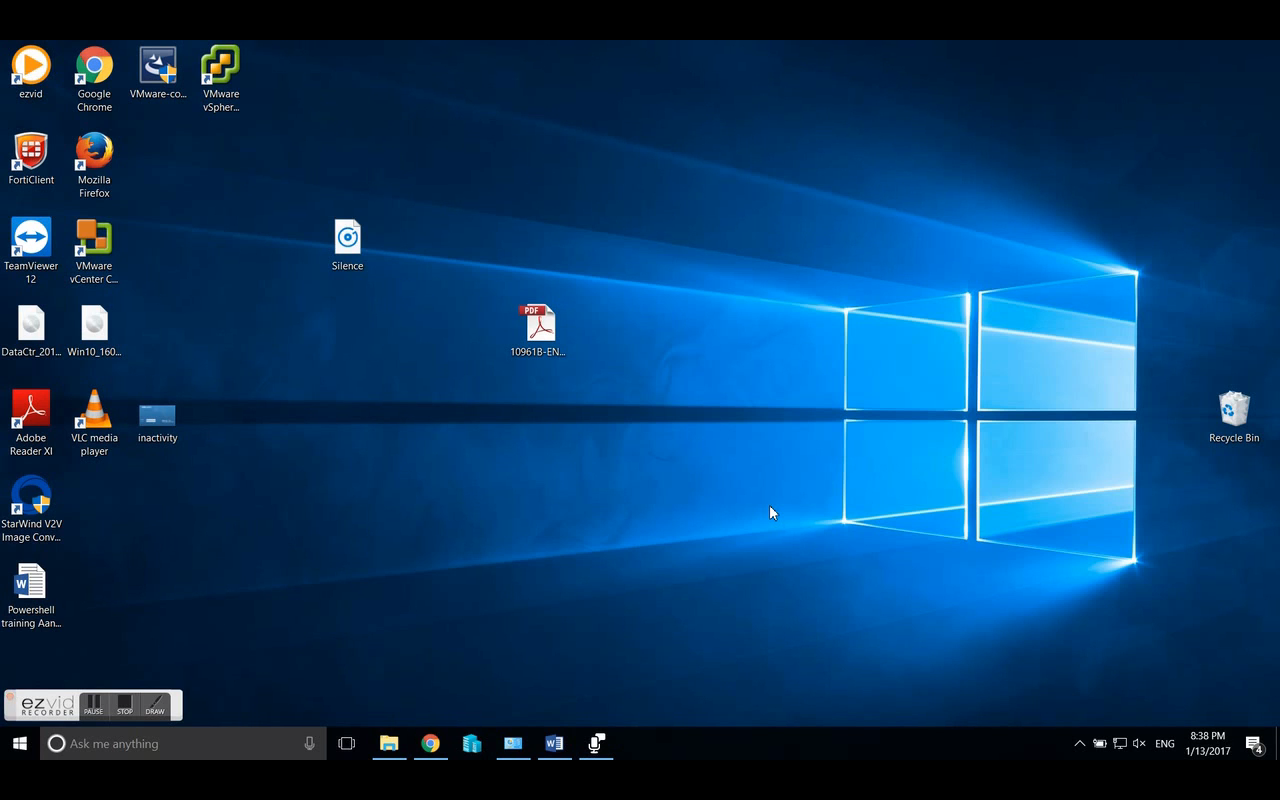
Hi, I made a video about how to change your System in Language in Windows 10.
But in short the steps are:
1. Add language pack in the control panel, go to Language & remove others. Set default the new language as default. Also in the advance settings and don’t forget to download the language pack as well.
2. In Region select the new language pack and push it also to the welcome screen and new users
3. In %LocalAppData% change the folder name to en-US. It Doesn’t change the search problem but it does make it clickable again. Full Path is:
C:\Users\username\AppData\Local\Packages\windows.immersivecontrolpanel_cw5n1h2txyewy\LocalState.
6. Open run command, type “Lpksetup /u” ,without the quotes and uninstall the old language.
7. After language pack install update kb3124200. This should fix the issue. There are maybe some new updates which will replace this update. If you can’t find the update trough windows update, try to download the standalone installer. If it is already installed, uninstall the update and reinstall it. This should invoke the fix again. Like I said, if you have one of the latest versions installed, and bearly any new updates applied, chances are that you can’t reinstall the old update and you’re currently stuck until Microsoft set out a new update which replace the search / index problem.
Good luck, be sure to make a backup of your files or system and or make a restore point in case something goes wrong. I am not responsible for any failure of your machine and this is at your own risk. Wish you the best of luck and let me know if this helped you out.
See ya.
Samir is the author of vSAM.Pro & a Life enthusiast who works as a consultant in the field of IT. With a great passion for Tech & Personal Development, he loves to help people with their problems, but also inspire them with a positive outlook on life.
Besides that, he is also a big Sport & Music junky that loves to spend a big chunk of his time on producing music or physically stretching himself.

