Intro
For a customer we deployed vRealize Network Insight (vRNI) 5.1 on their VMware Cloud Foundation Platform (vcf). Currently vRNI is not part of the automatic deployment of vcf or even part of the Lifecycle Manager of the vRealize Suite. So, currently it needs to be manually installed and upgraded like a normal vSphere product, but it doesn’t need any special recommendations or setups. Just make sure that you check the HCL and maybe a VMware Validated Design (VVD) document if you want some extra guidance. vRNI 5.1 supports both NSX-V & NSX-T, which fits the current version of vcf 3.9.1. perfectly. Currently vRNI doesn’t support clustering, but this seems to be on the roadmap. For this customer we kept the setup simple and deployed one Platform appliance and 2 Proxies / remote collectors. For each site we had a separate Proxy that is connected to the vCenter and NSX-V Manager there.
In this post we are going to walk through the installation of both the vRNI Platfrom & Proxy appliance and show how you can configure vRNI to connect to your vCenter & NSX-V manager so that it can receive data.
1.0 Installing vRNI Platform & Proxy Appliance
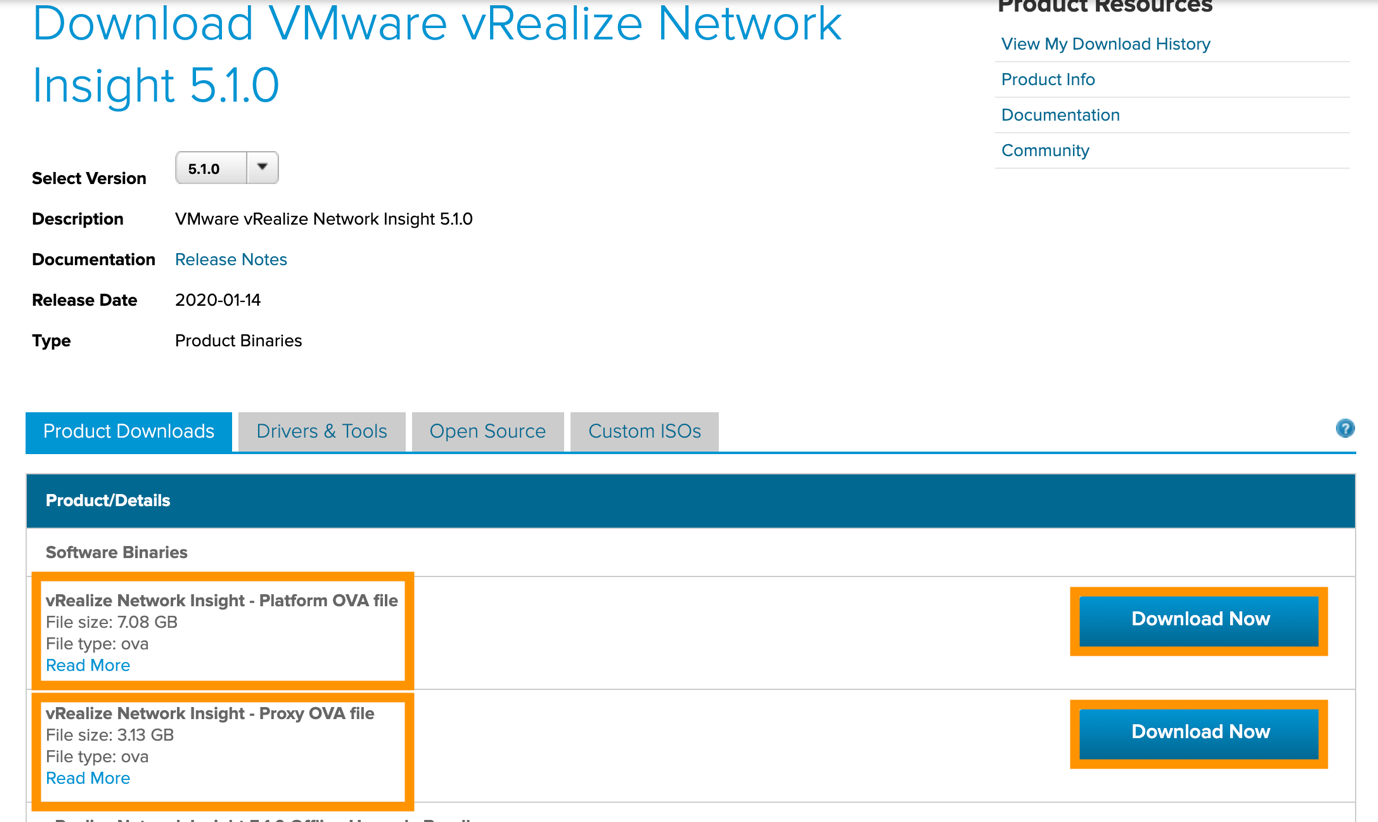
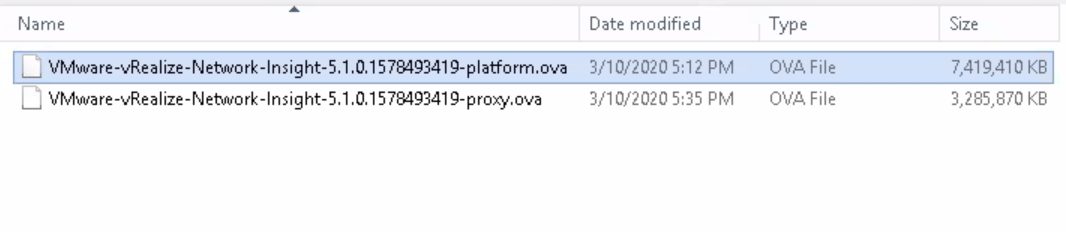
First start the download of both OVA files from the VMware website here.
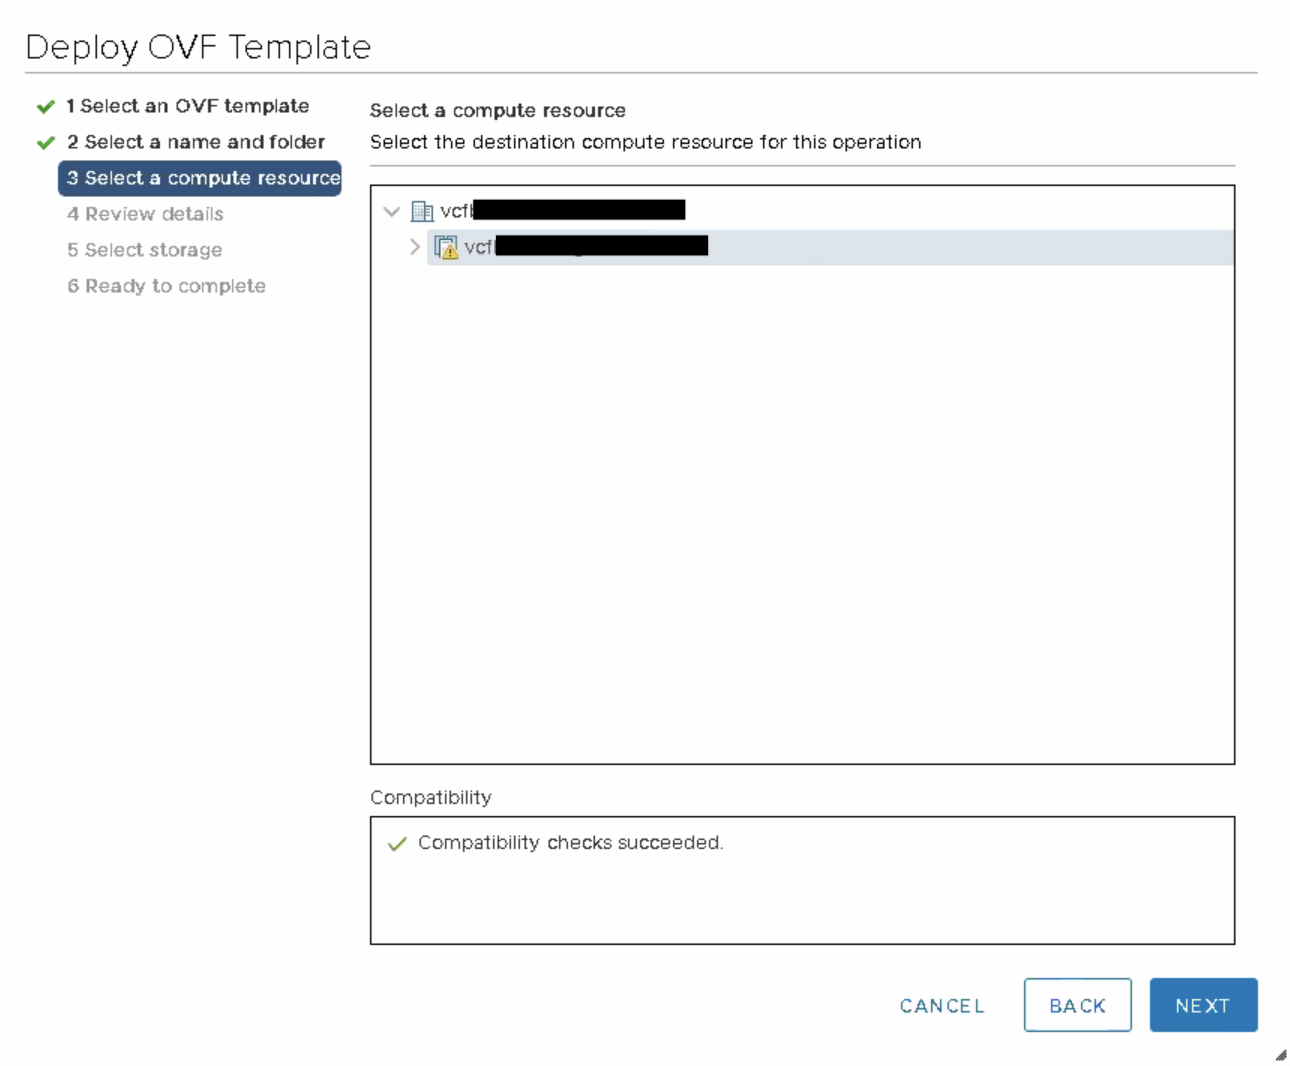
Once downloaded, go to the vCenter where you want to deploy the Platform appliances and select “deploy from ovf template”.
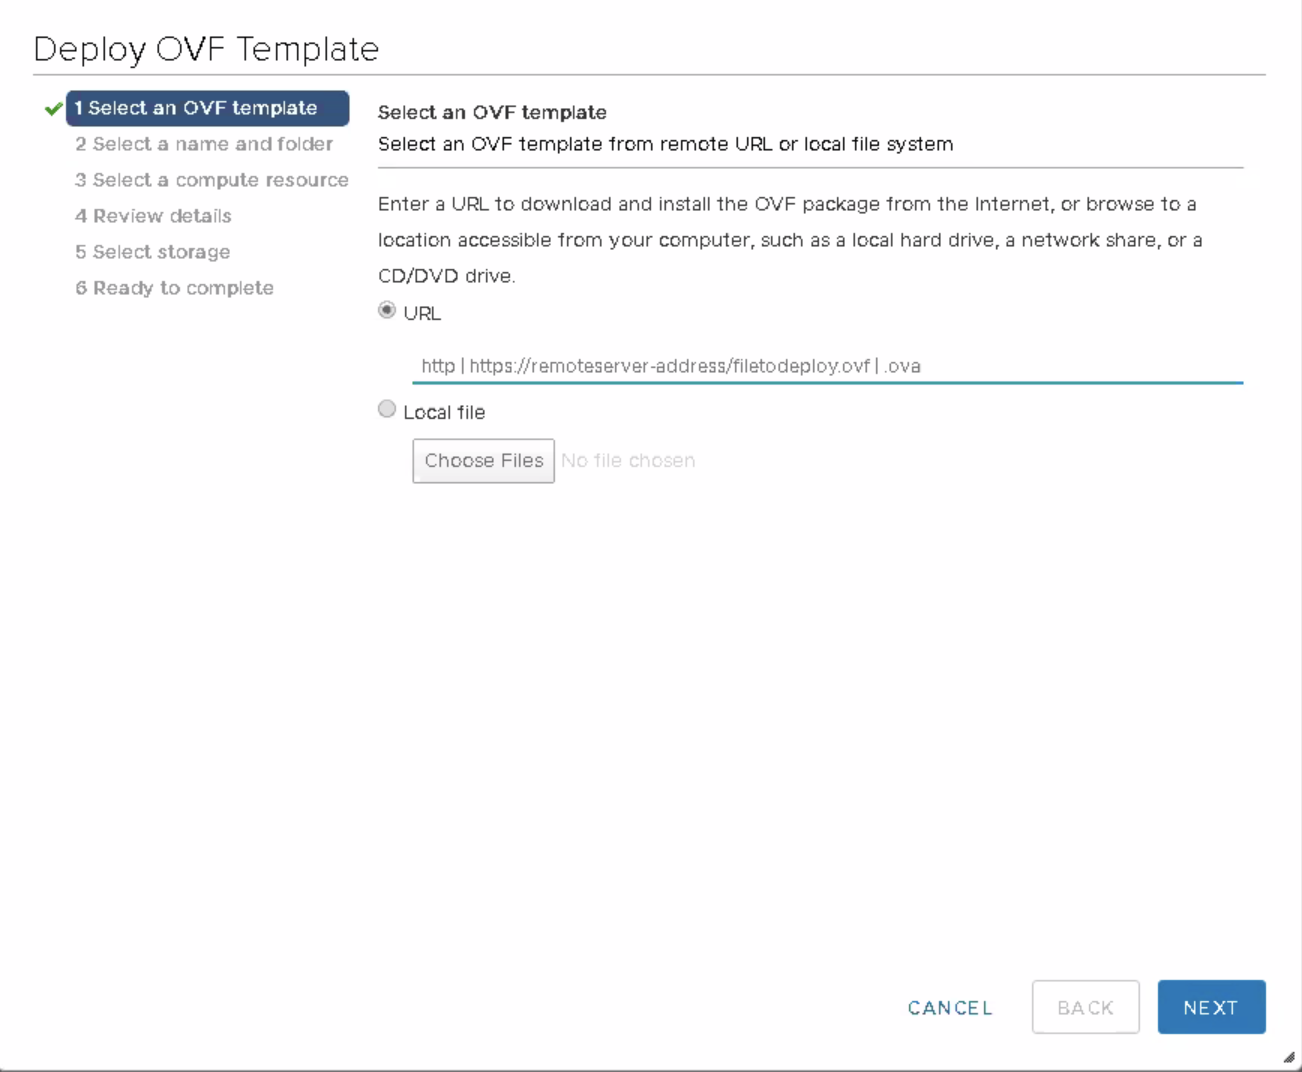
Select the ovf template of the platform ova.
Give it a name and select the place where you want to create the vm.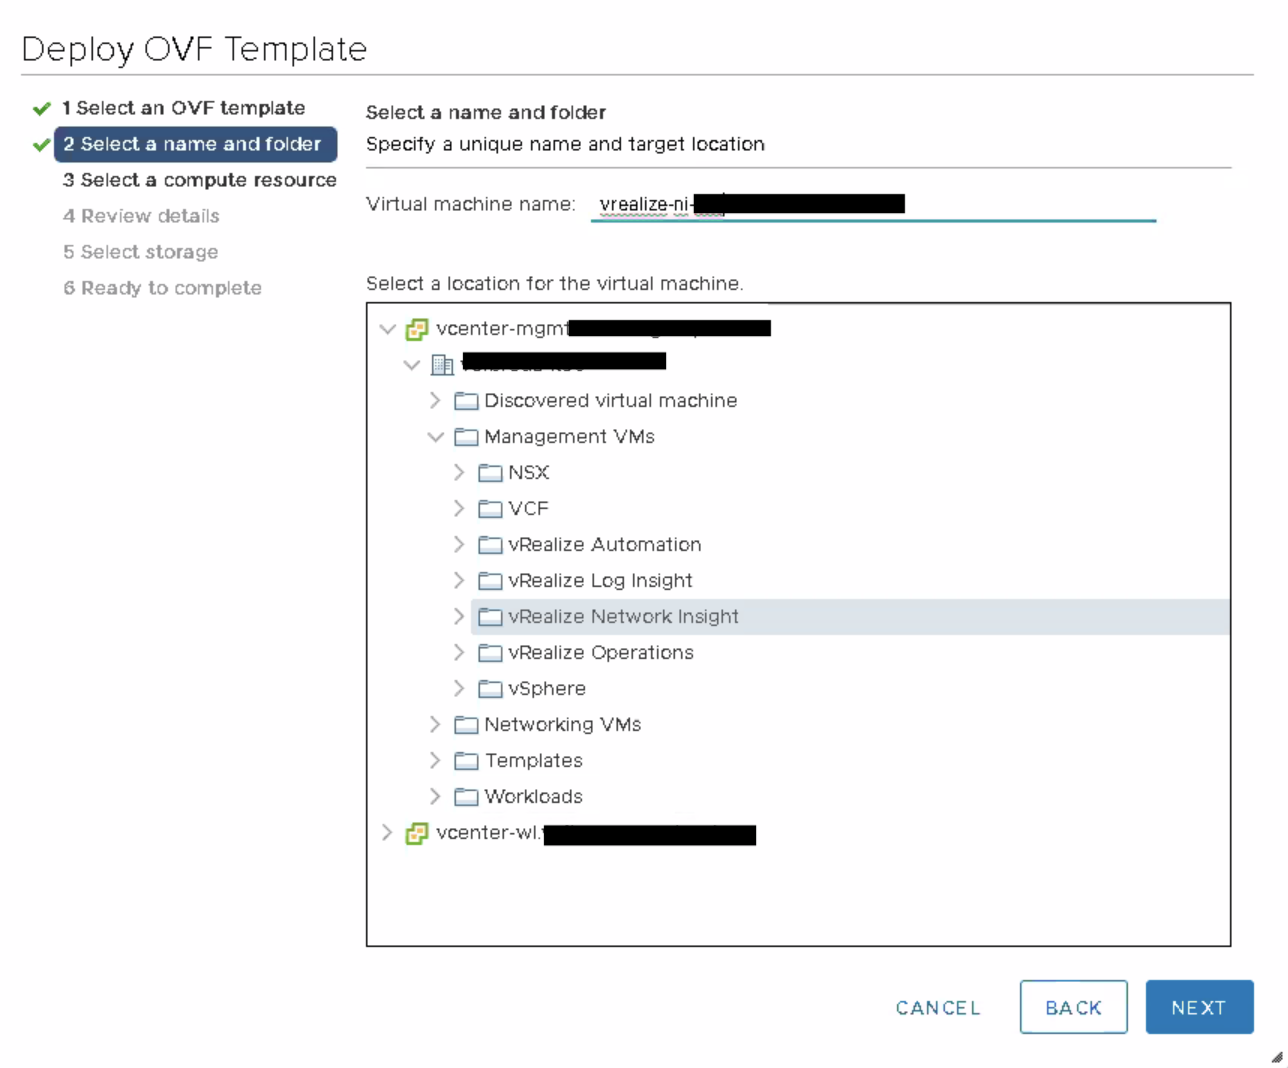
Select the resources that you want to use for the vm.
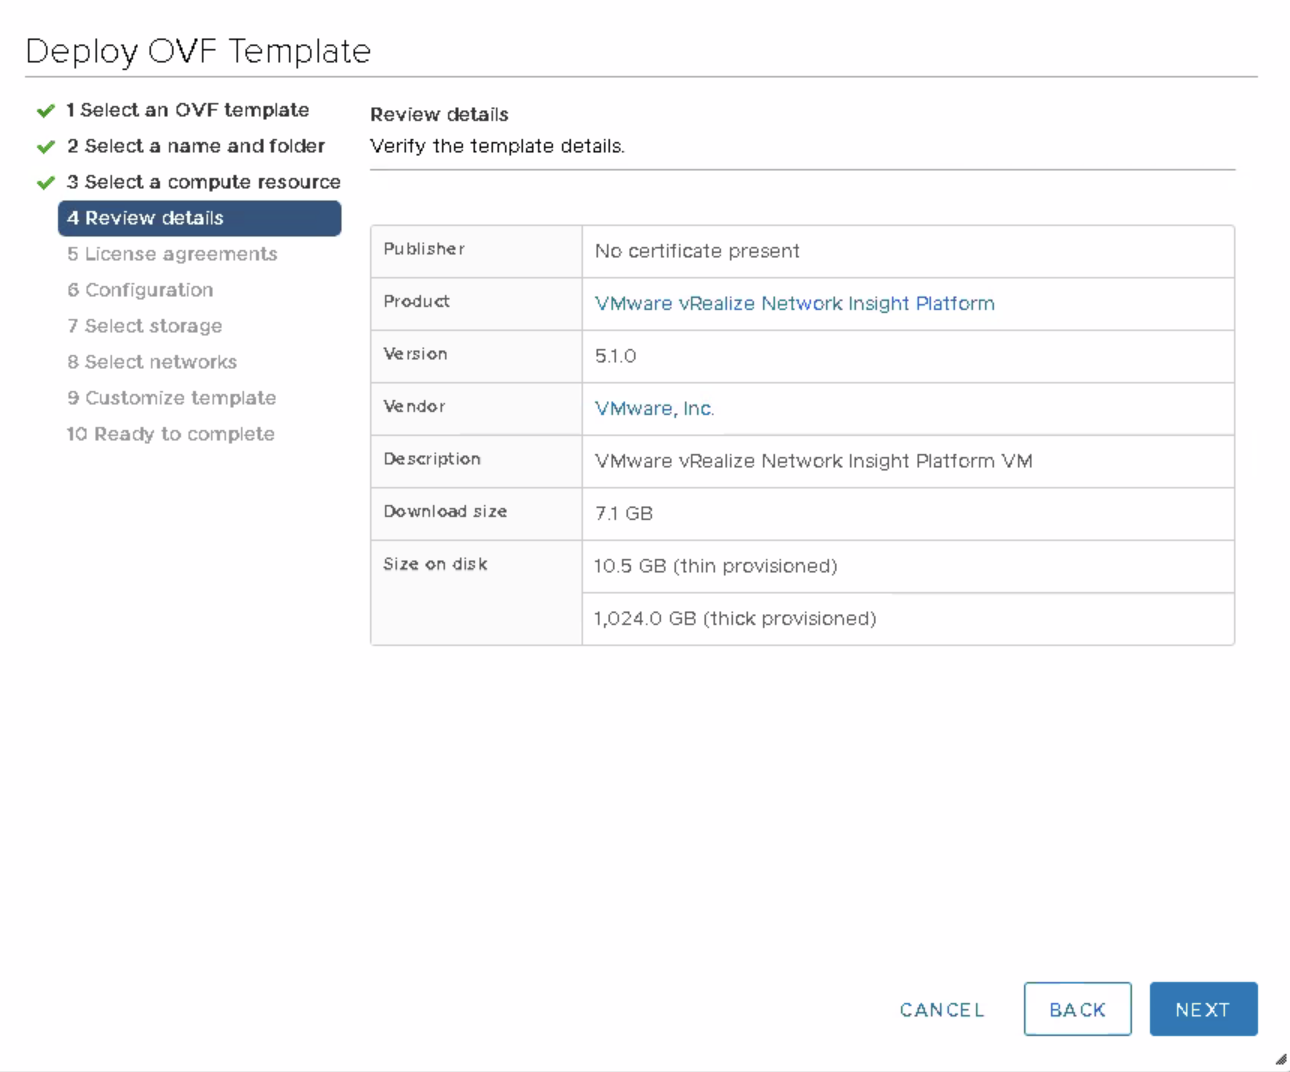
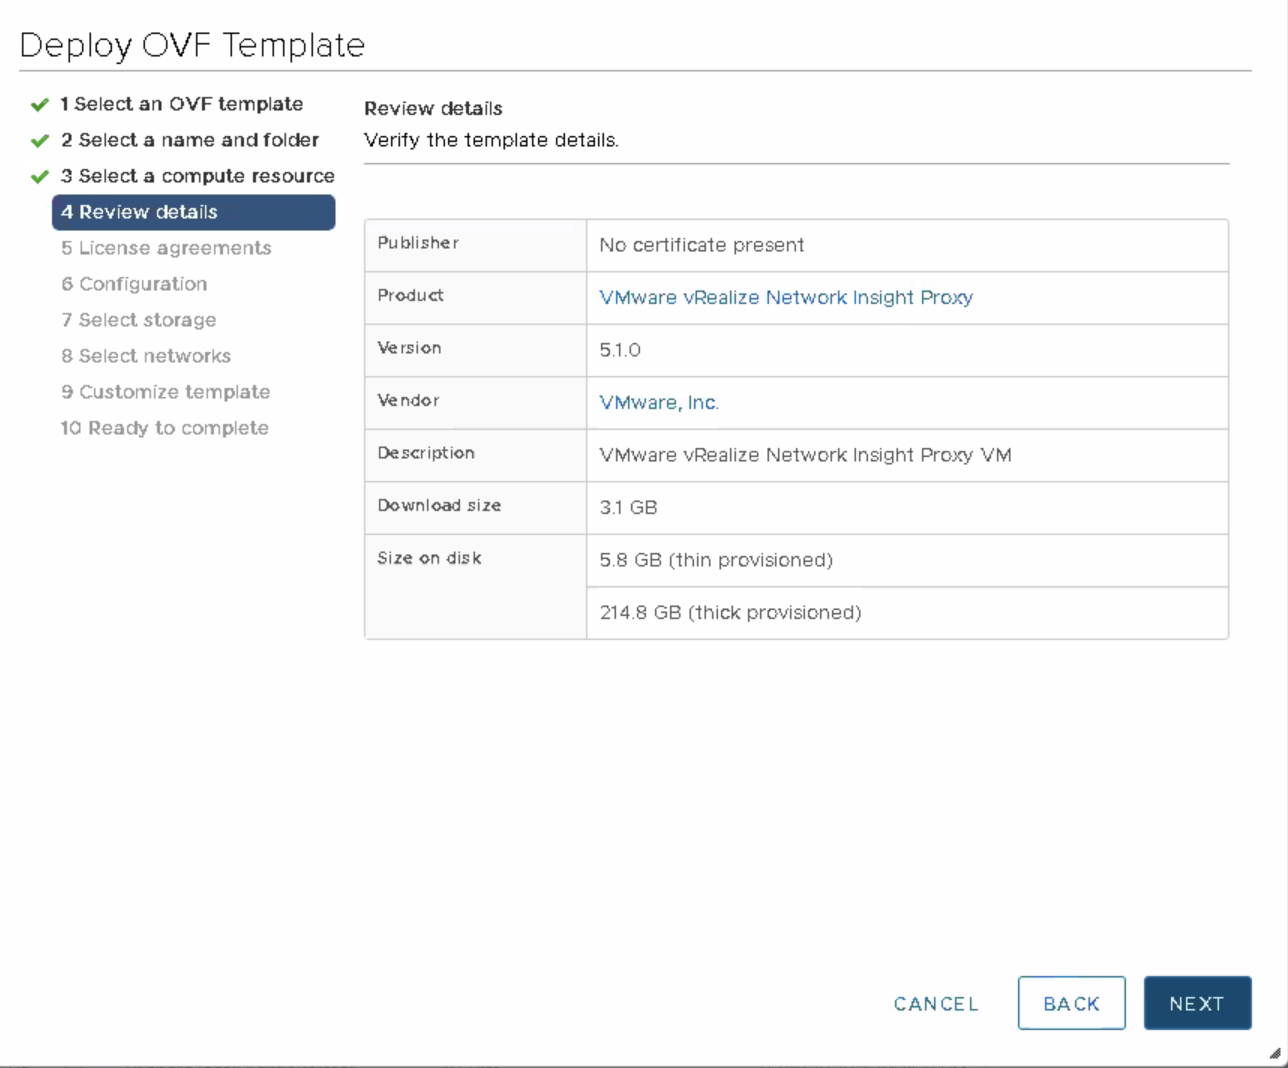
Review the details and choose next.
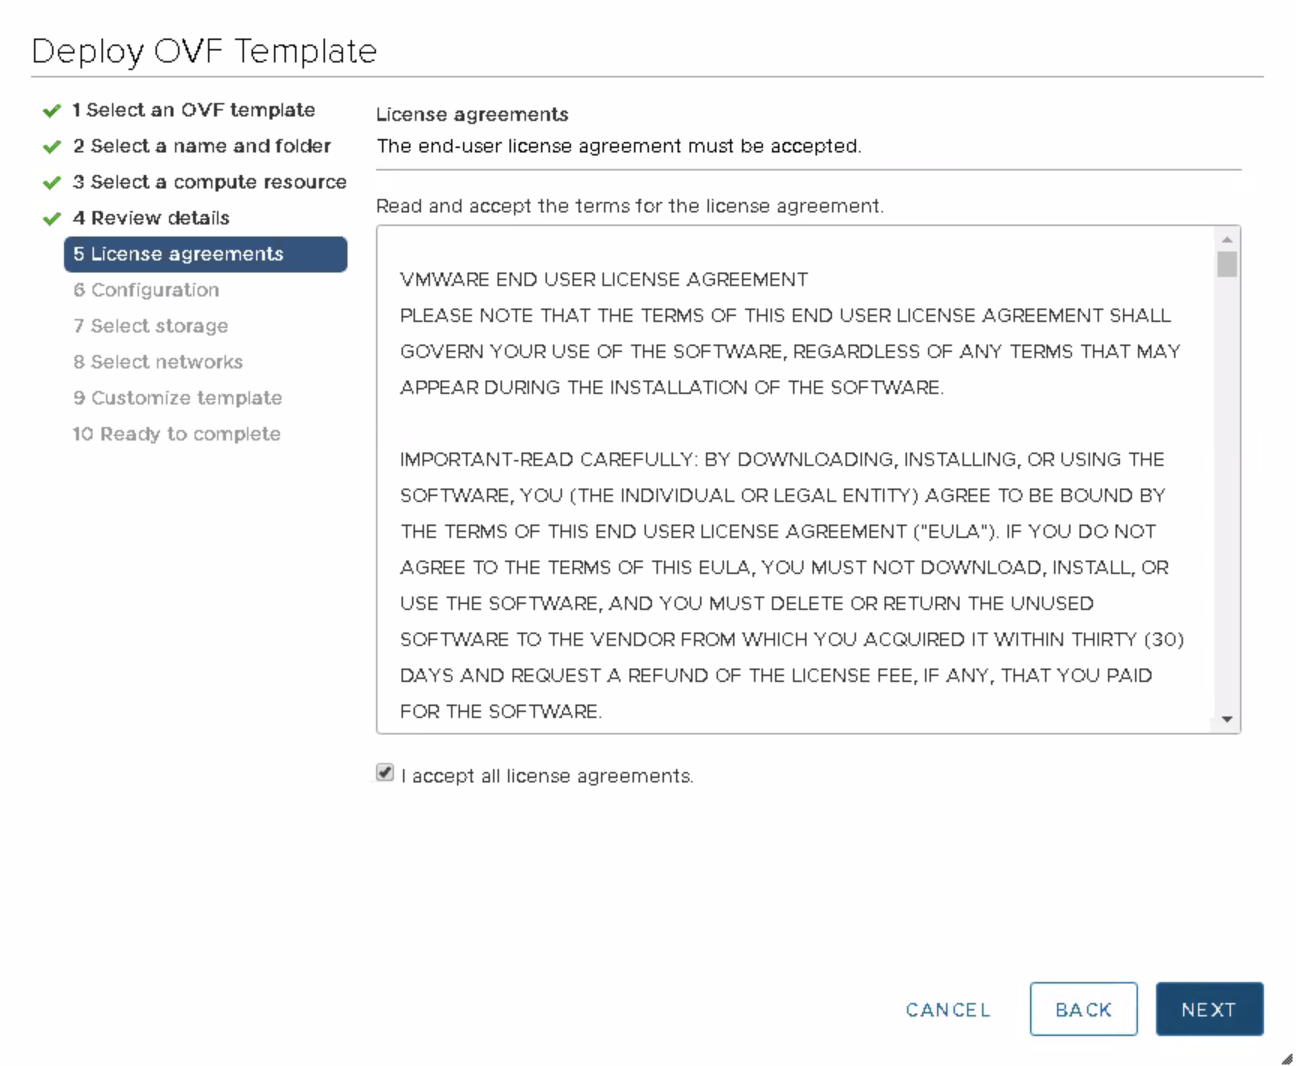
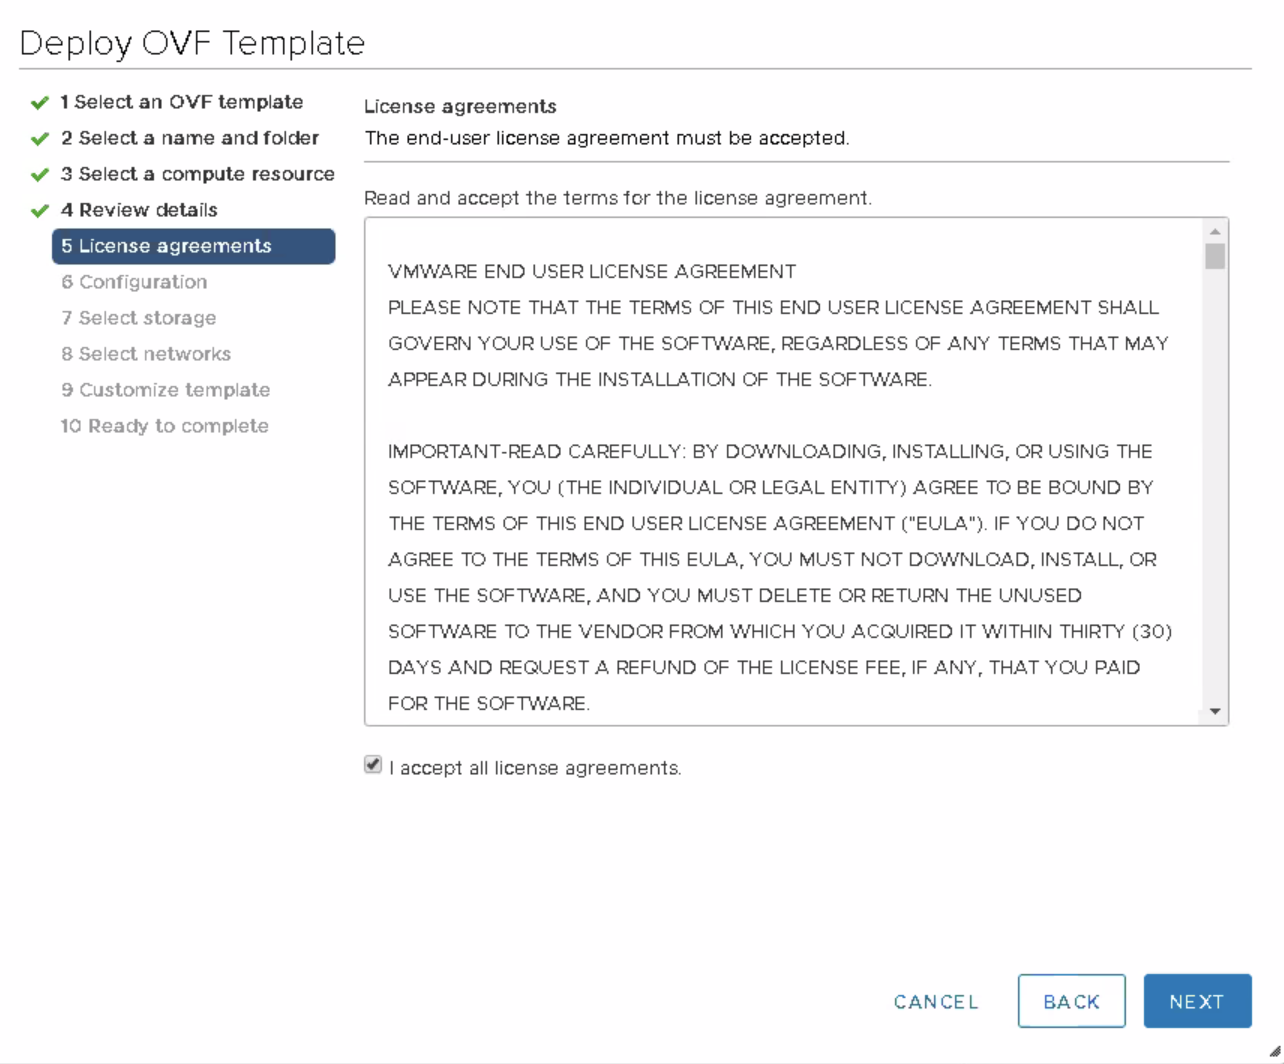
Accept the license agreement and click next.
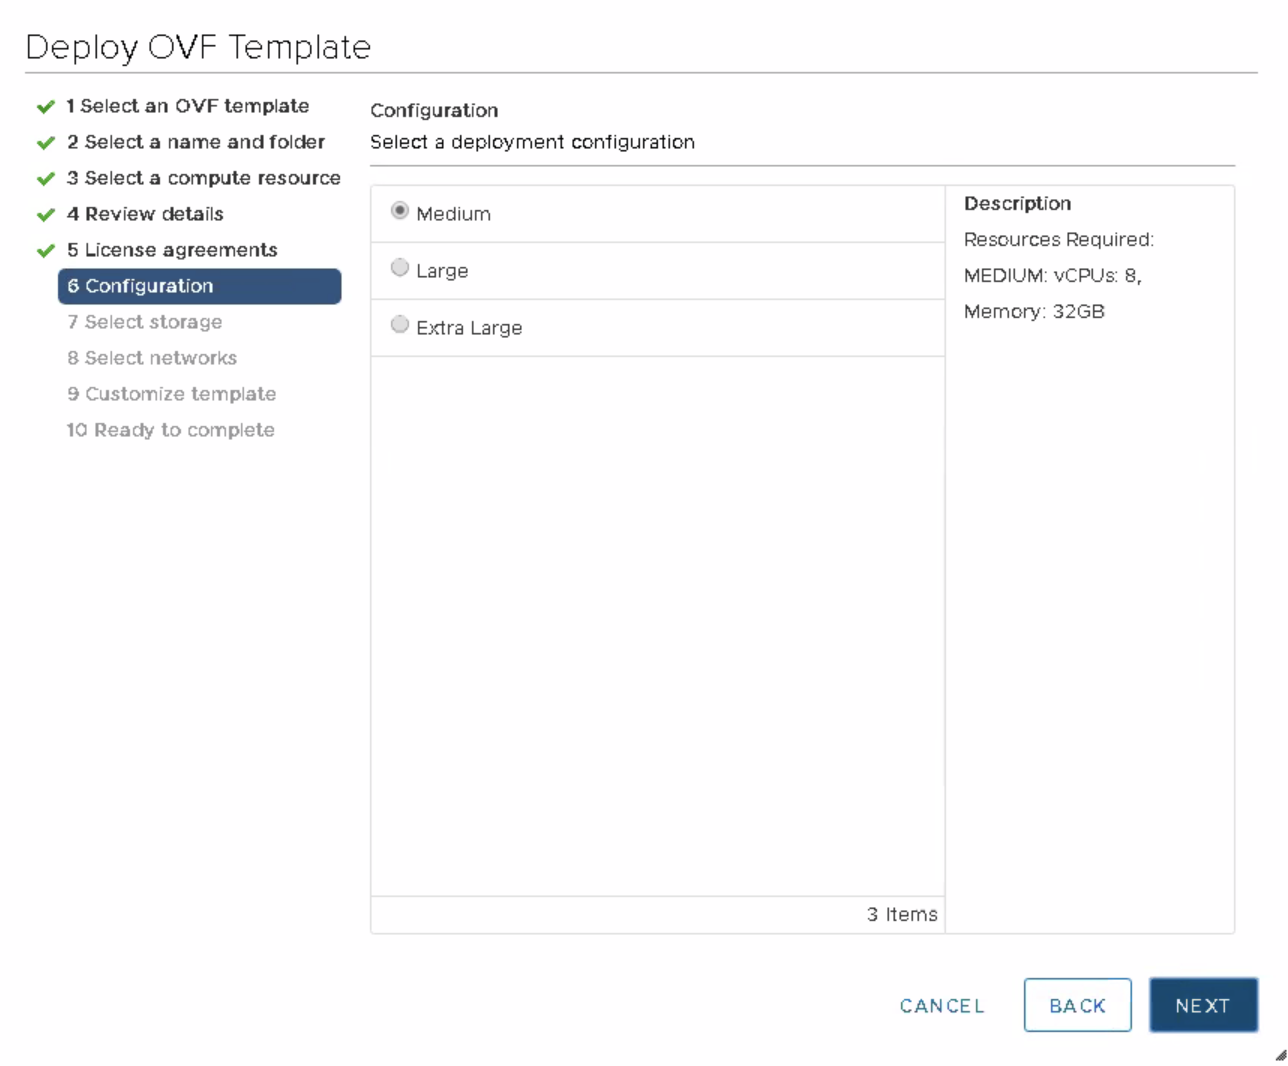
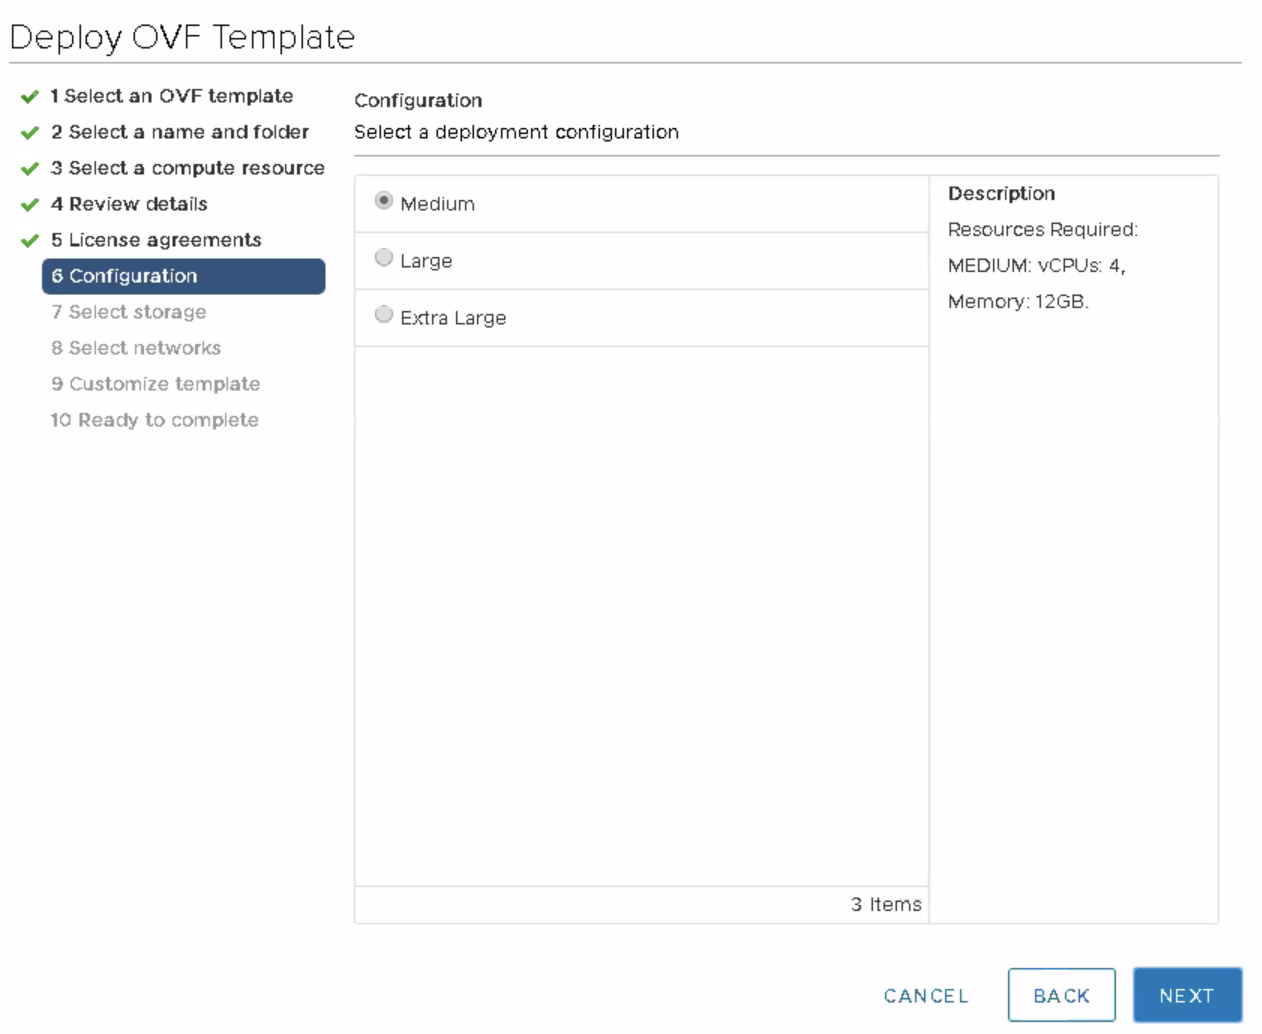
Select the size of your deployment, in our case medium was good enough, but make sure that the deployment size of your platform is the same as your proxy.
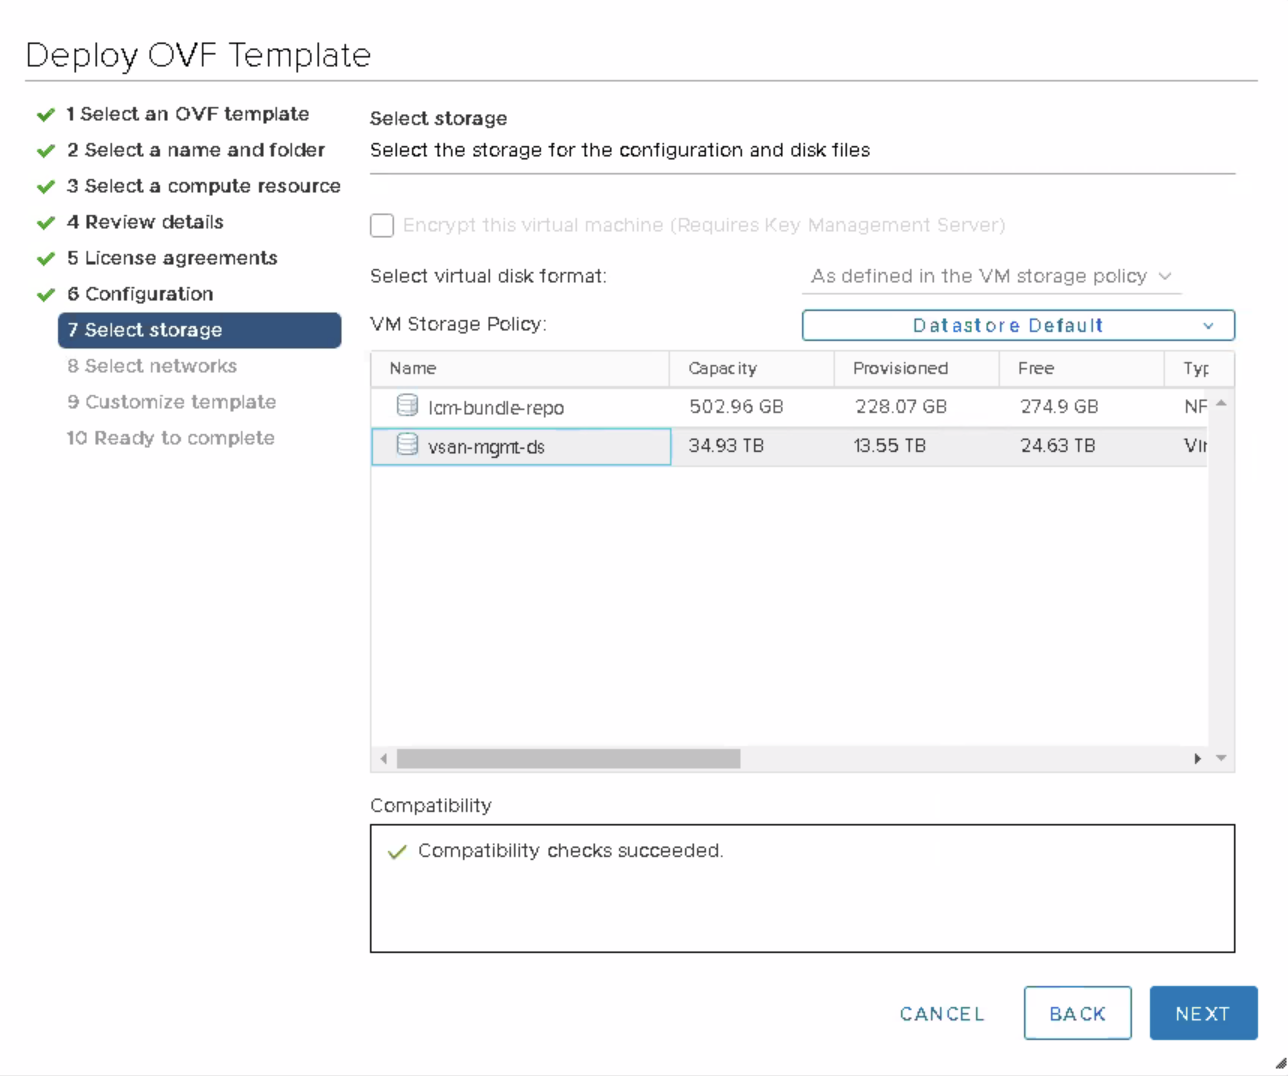
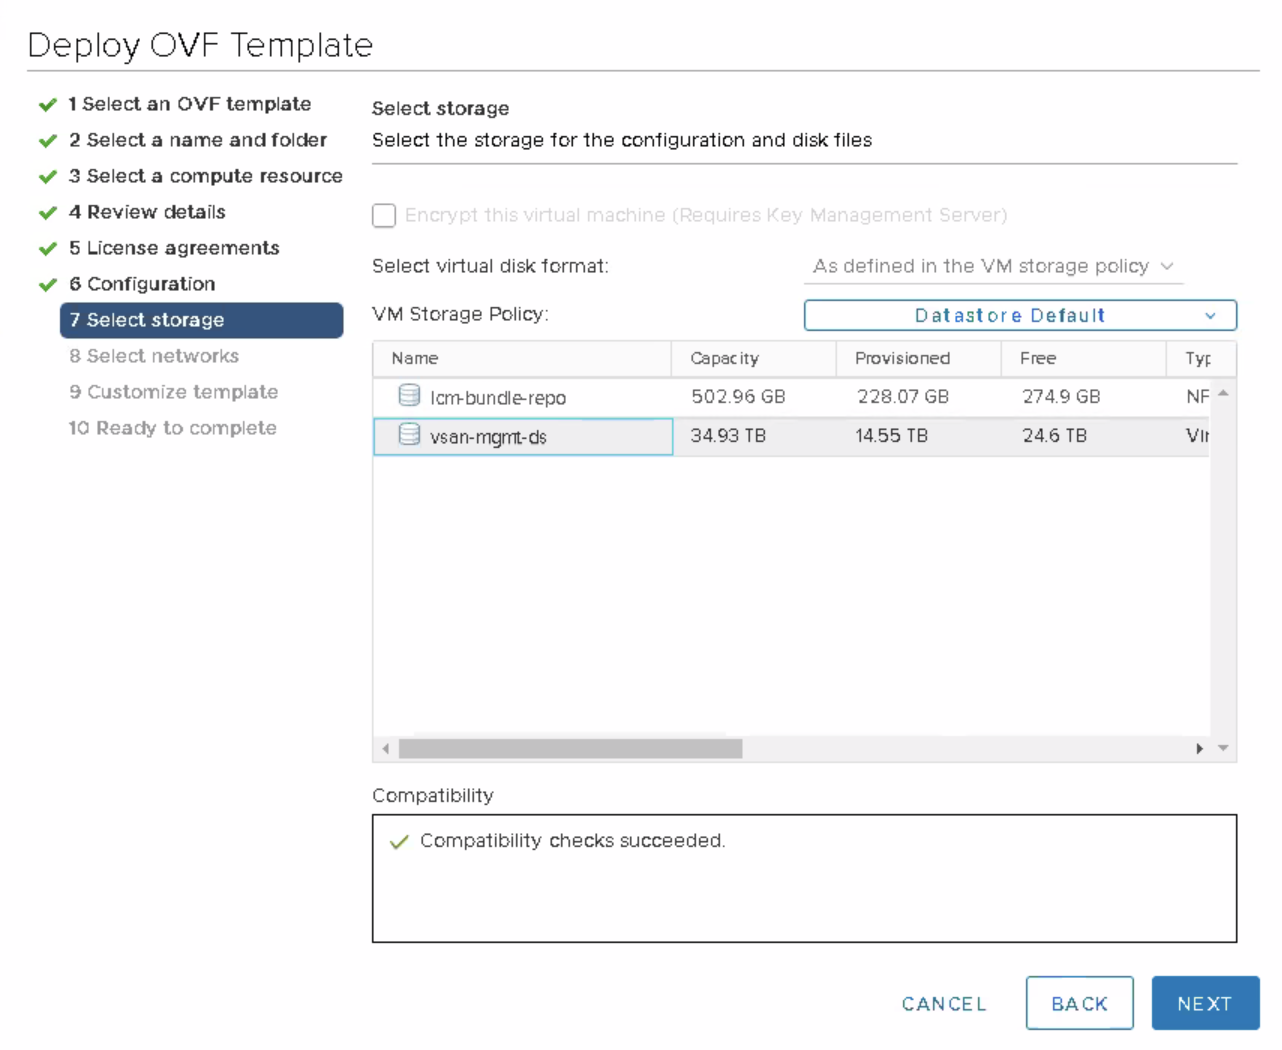
Select a datastore and click next
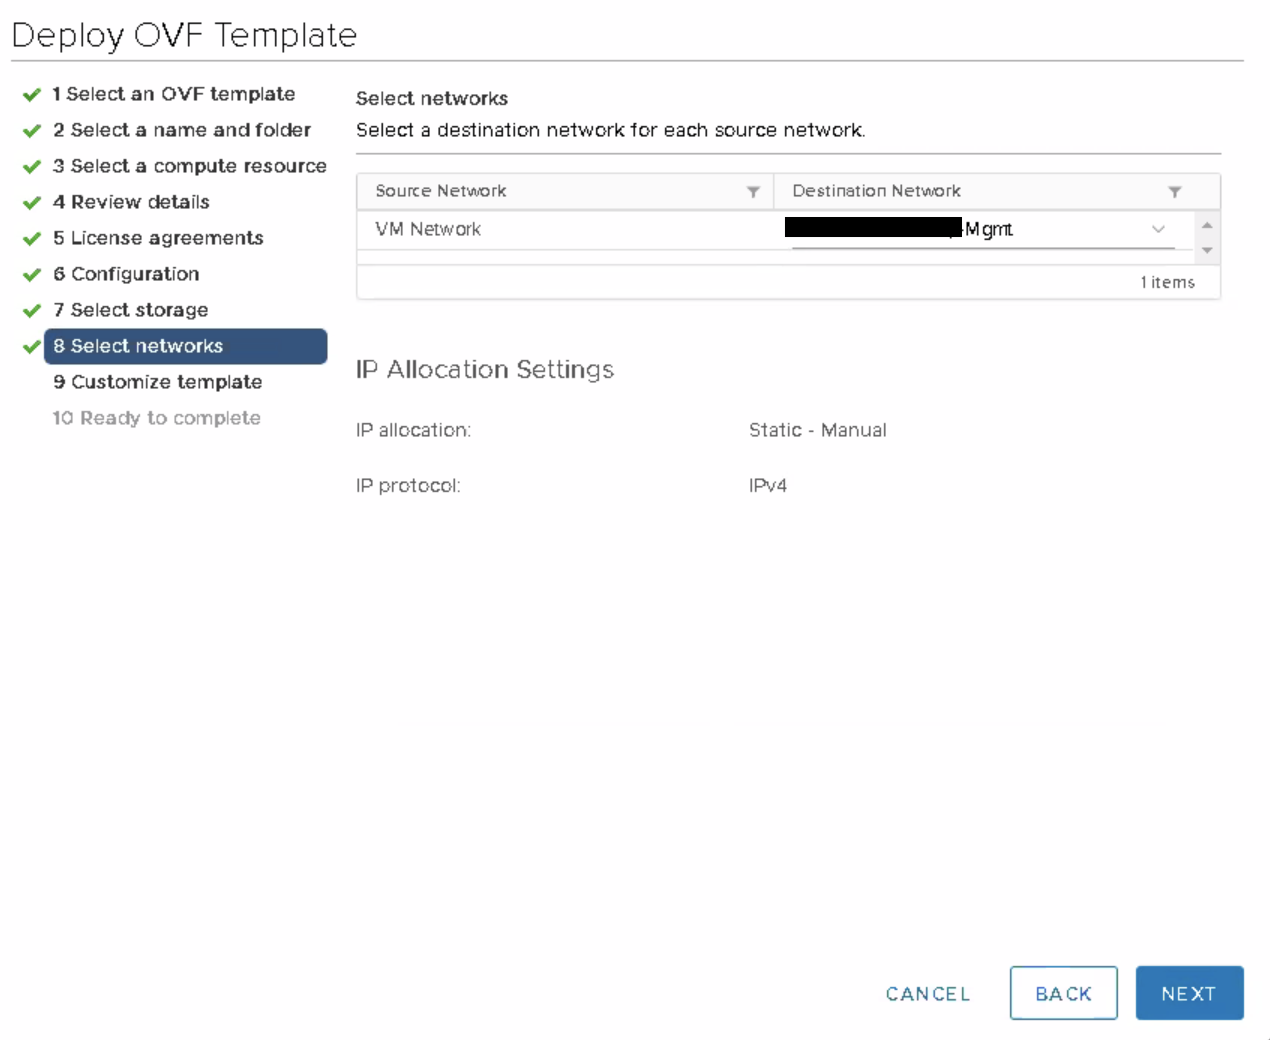
Select the network for your vm.
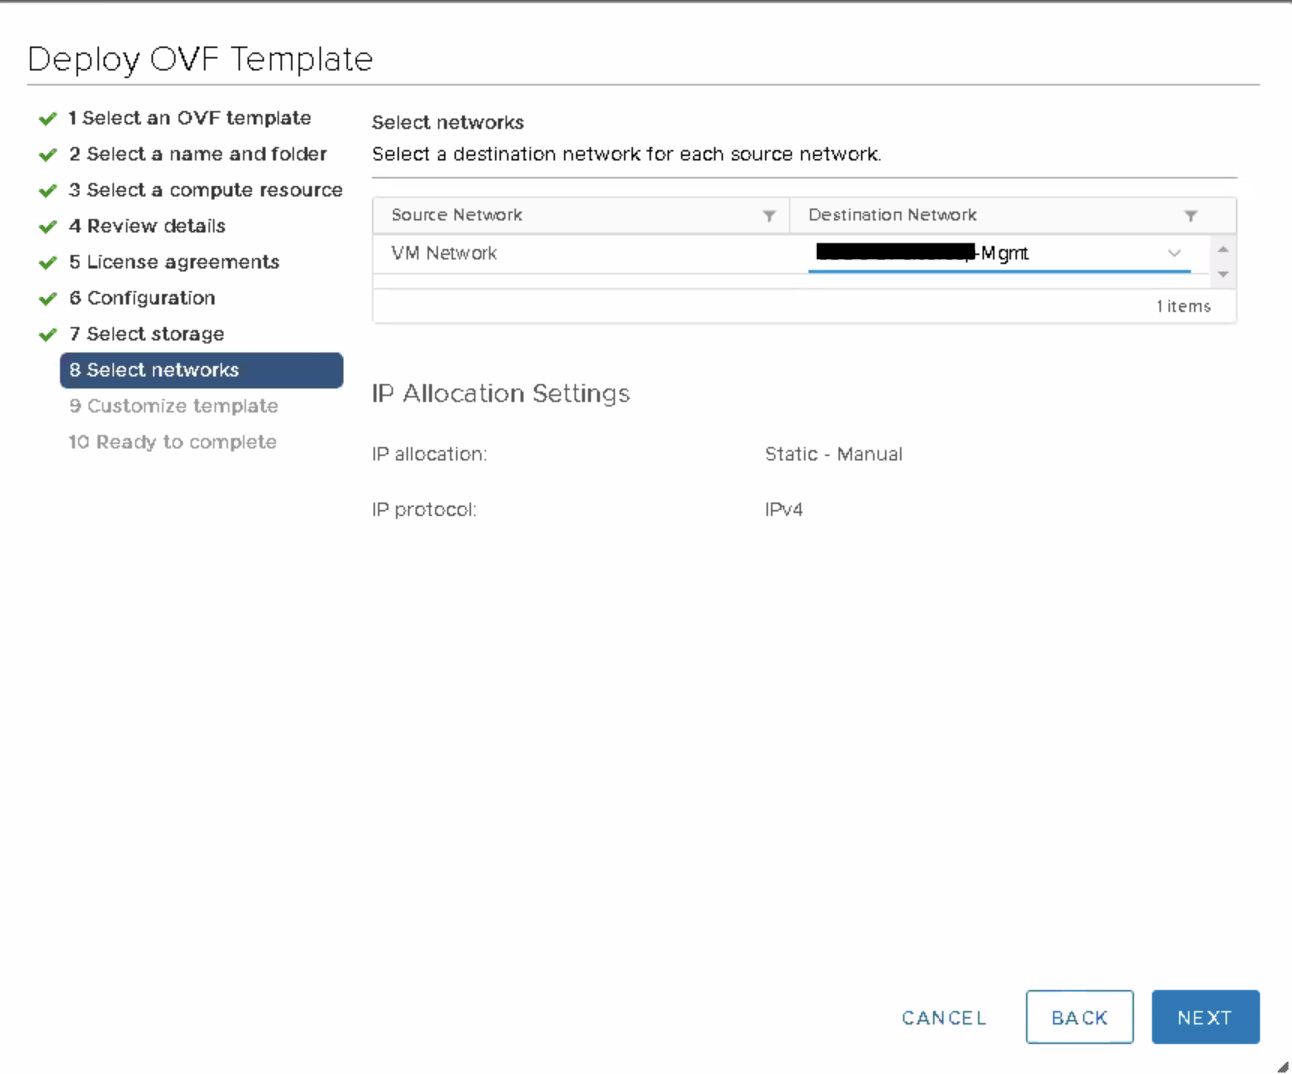
Click next
Check if everything is how you want it and finish the ovf deployment 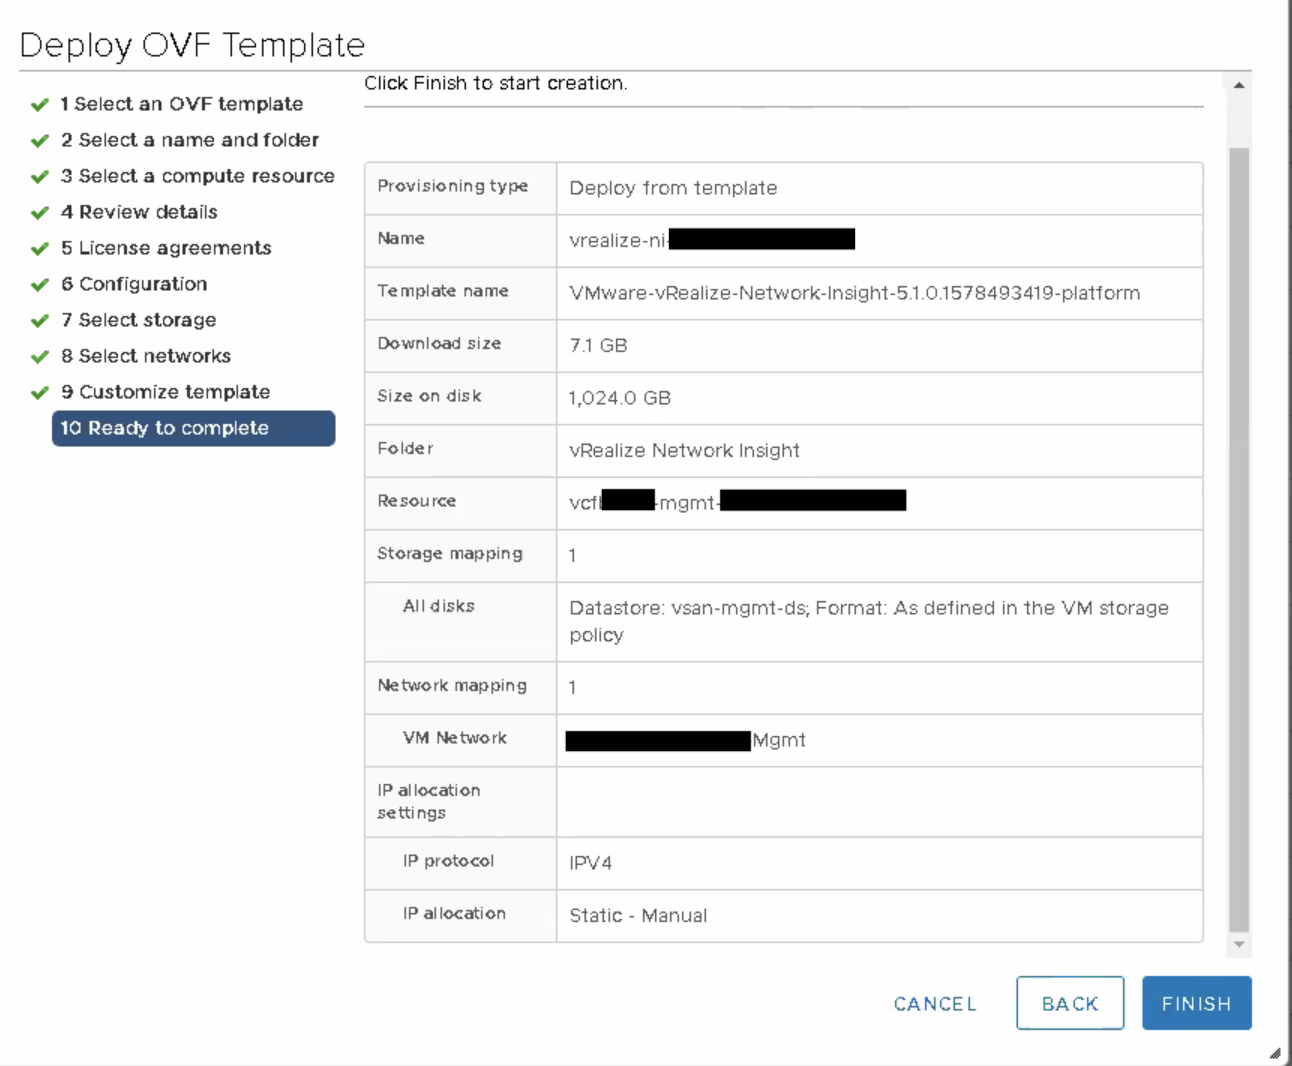
Next boot up your newly deployed vm and open up the console.
The first time you login you see in the upper screen the username and password.
Login and start the configuration by typing “setup”. 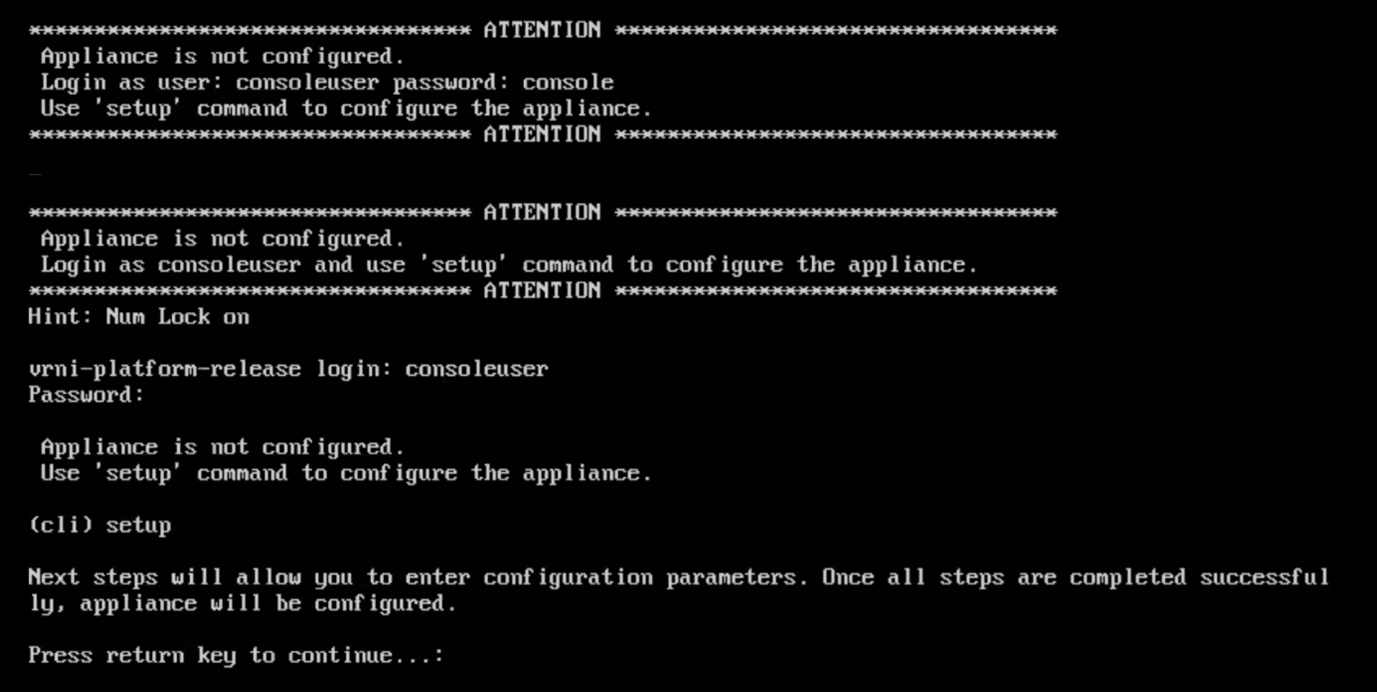 |
|
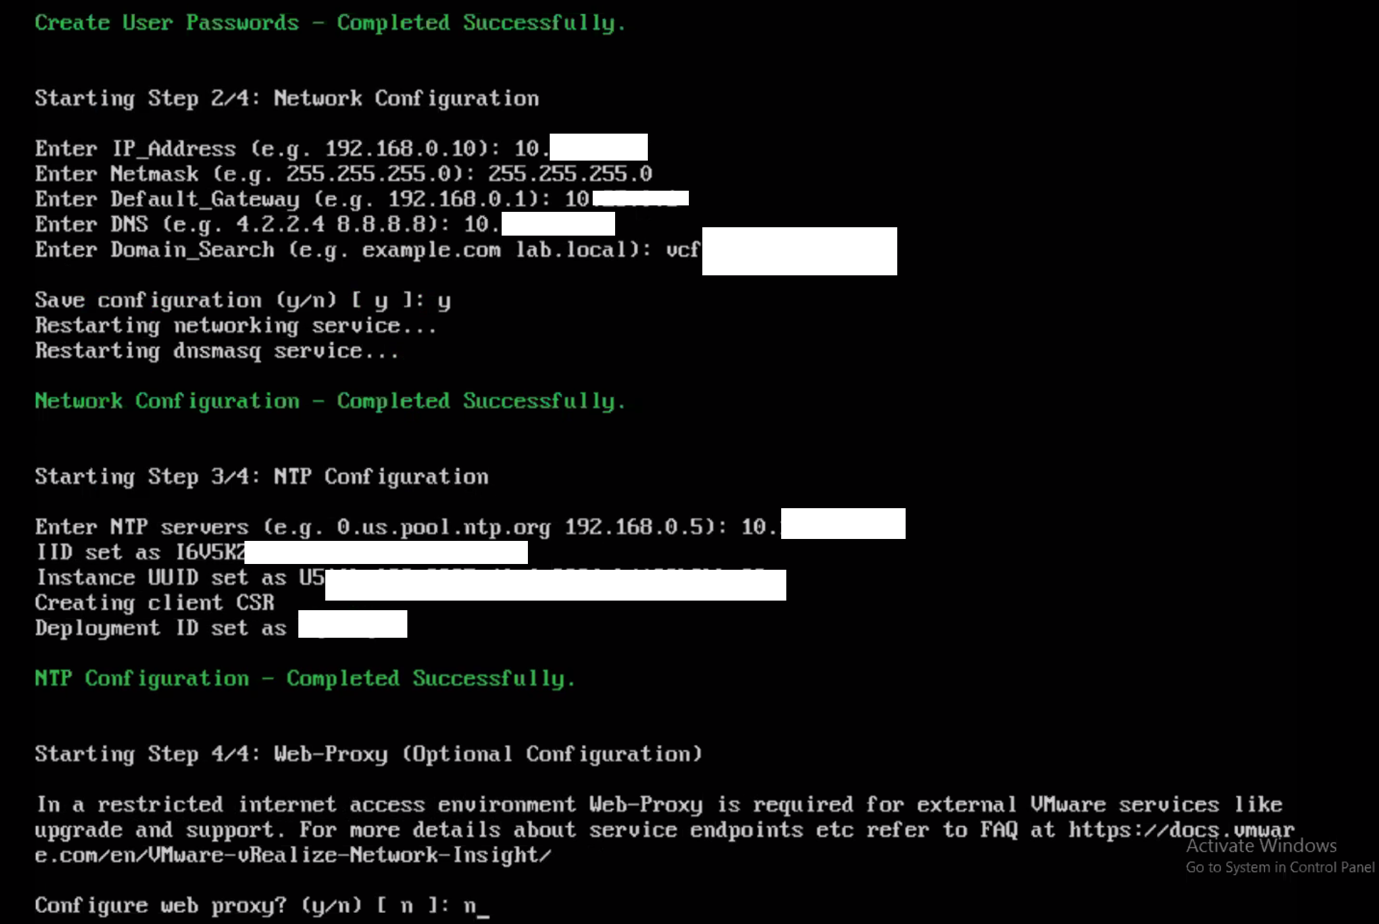
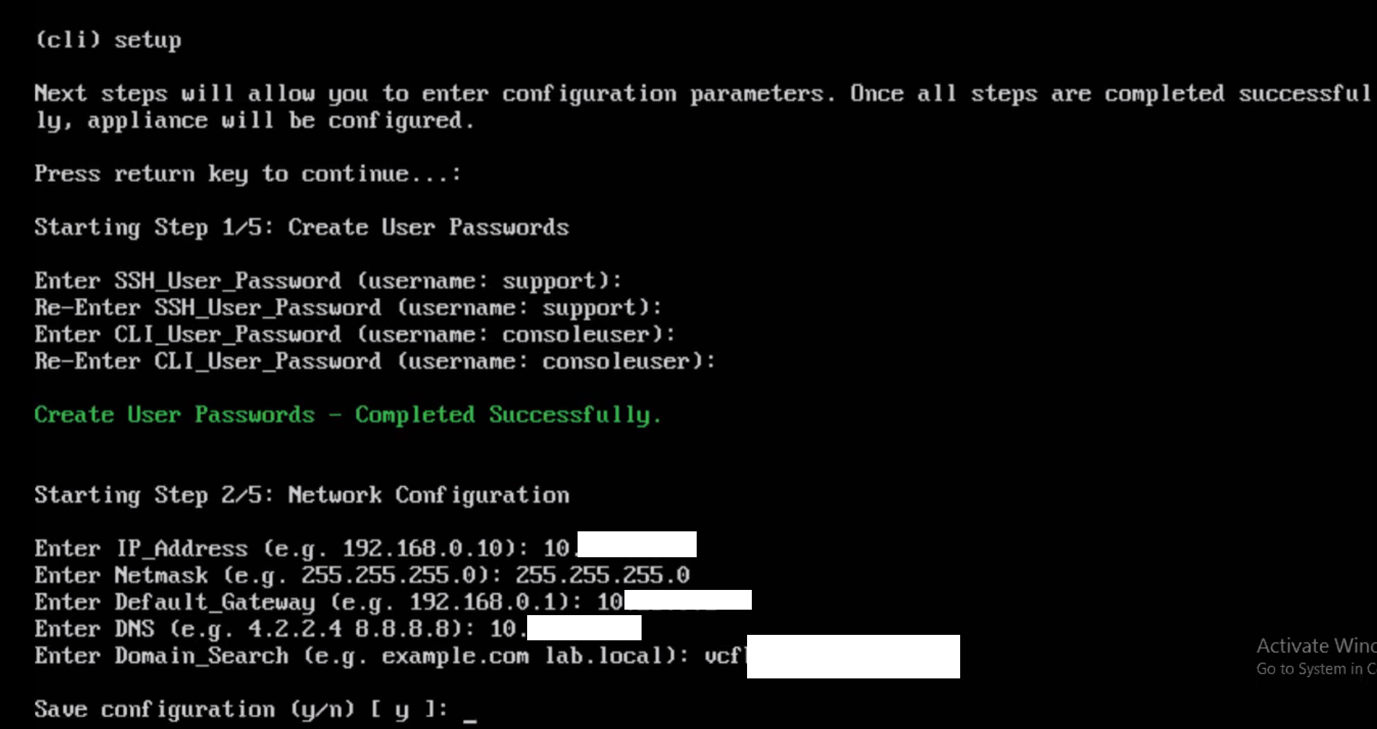
- In step 1 create a new password for the standard users,
- In step 2, give up the network settings of the vRNI Platform vm.
- Step 3 set your NTP Settings
- And as last step (4), you can choose if you want to make use of a web-proxy, but this is optional and depend on your organization if this is needed for accessing the network.
Once you are done, the vm will restart its services and you are ready to open up the webui settings”. 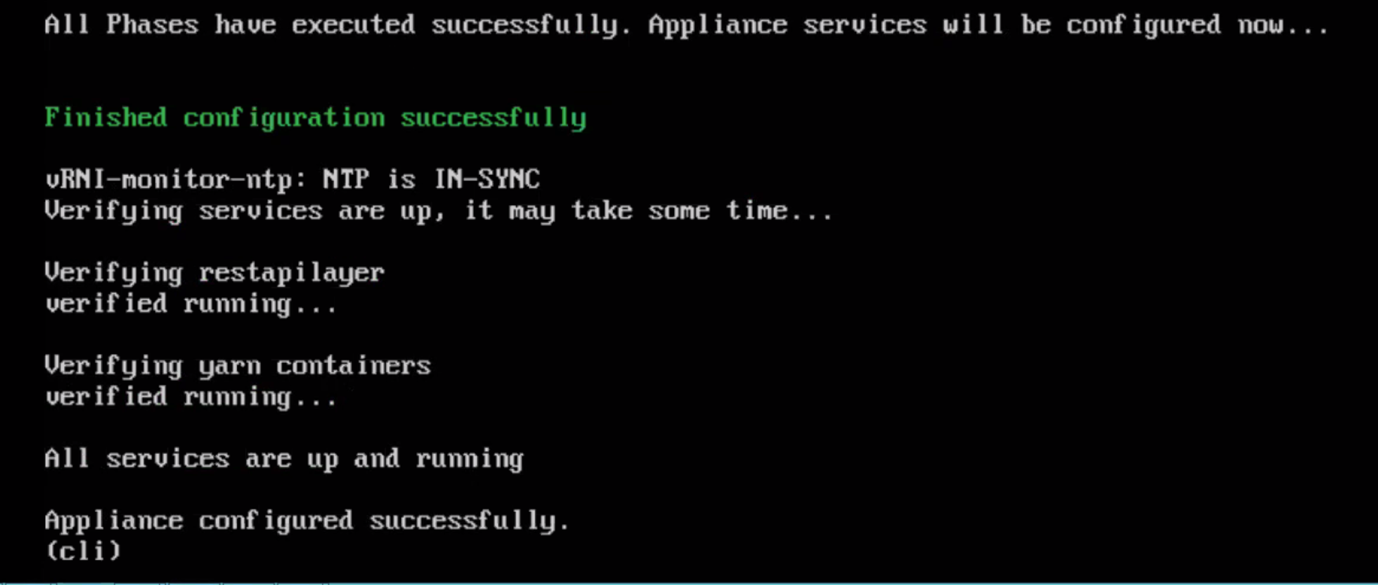
If for some reason you have mistyped some of the network settings, you can restart the config of some steps by typing:
change-network-settings
Open up the webgui and enter your license key 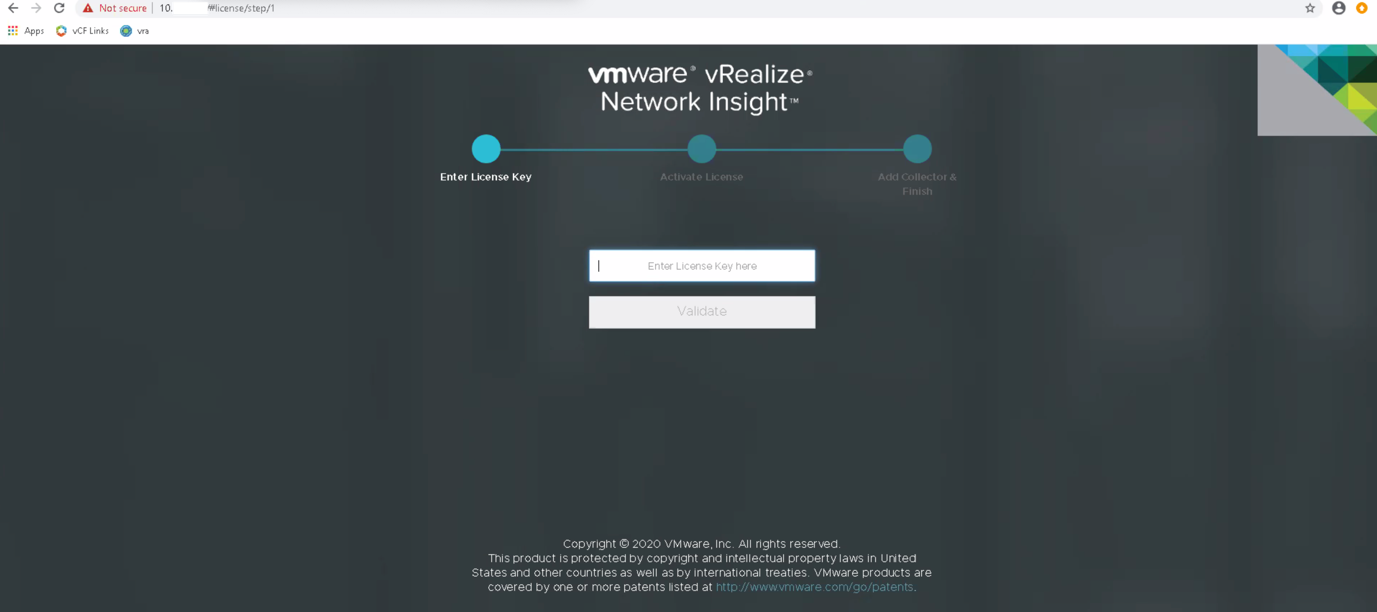
Create a new admin password and select activate. 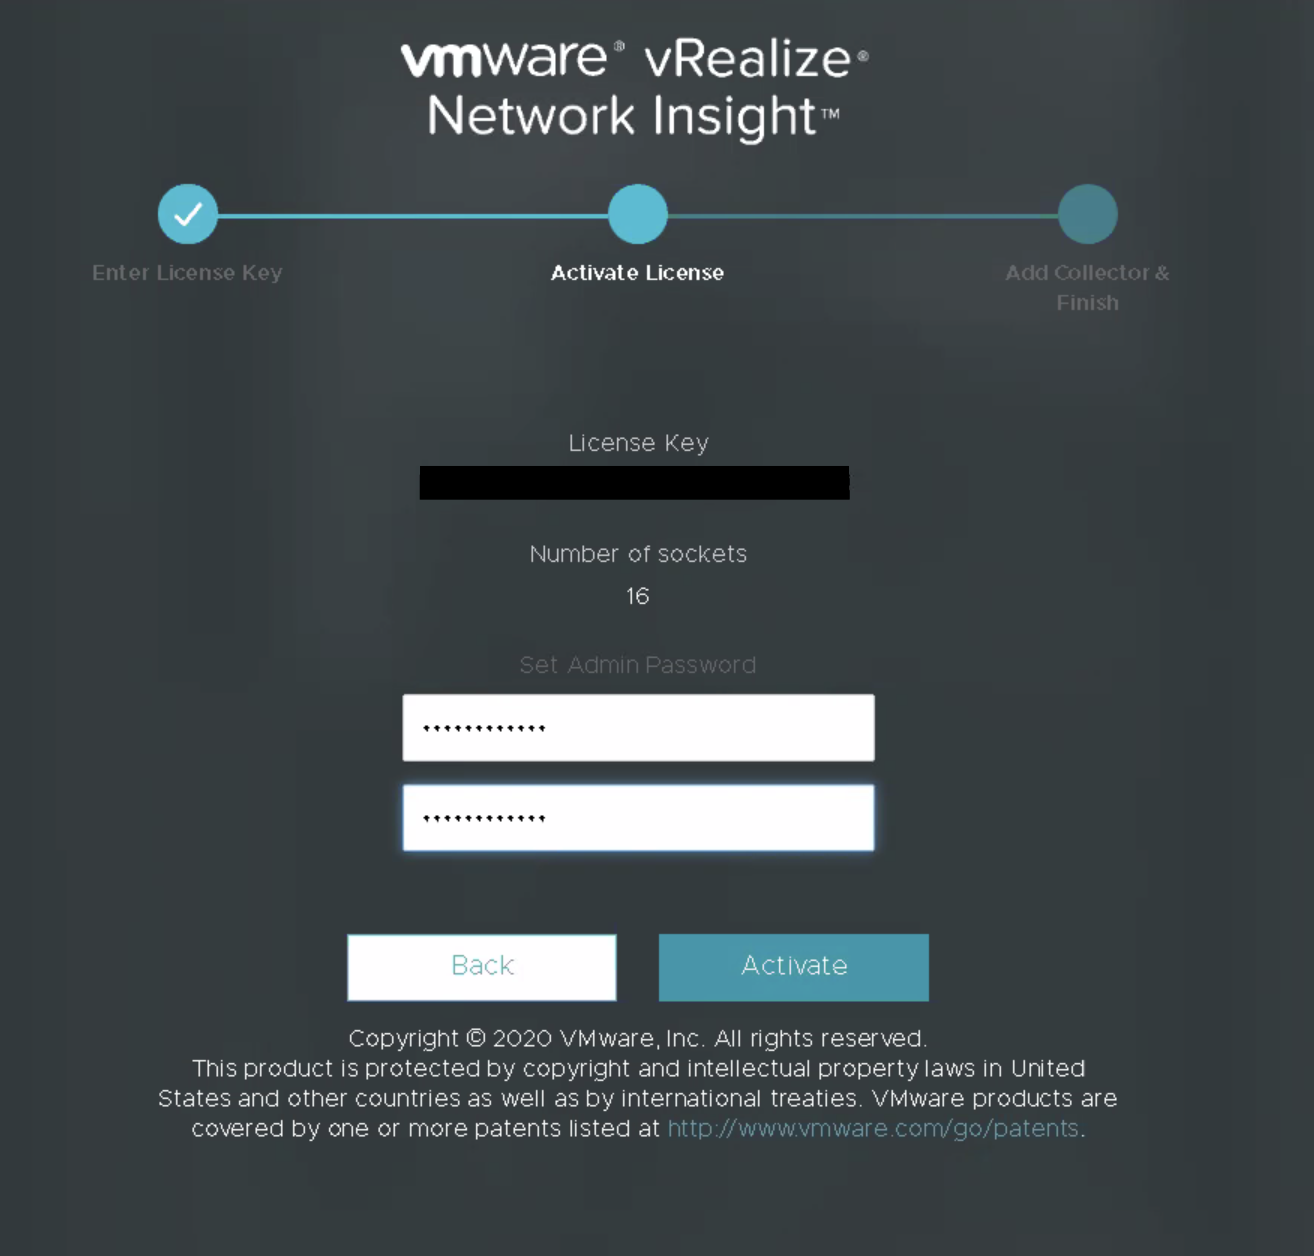
Next we’re going setup the connection for the new collector, this by creating a “shared secret” which we are going to need when deploying a new vm. So click “Generate”. 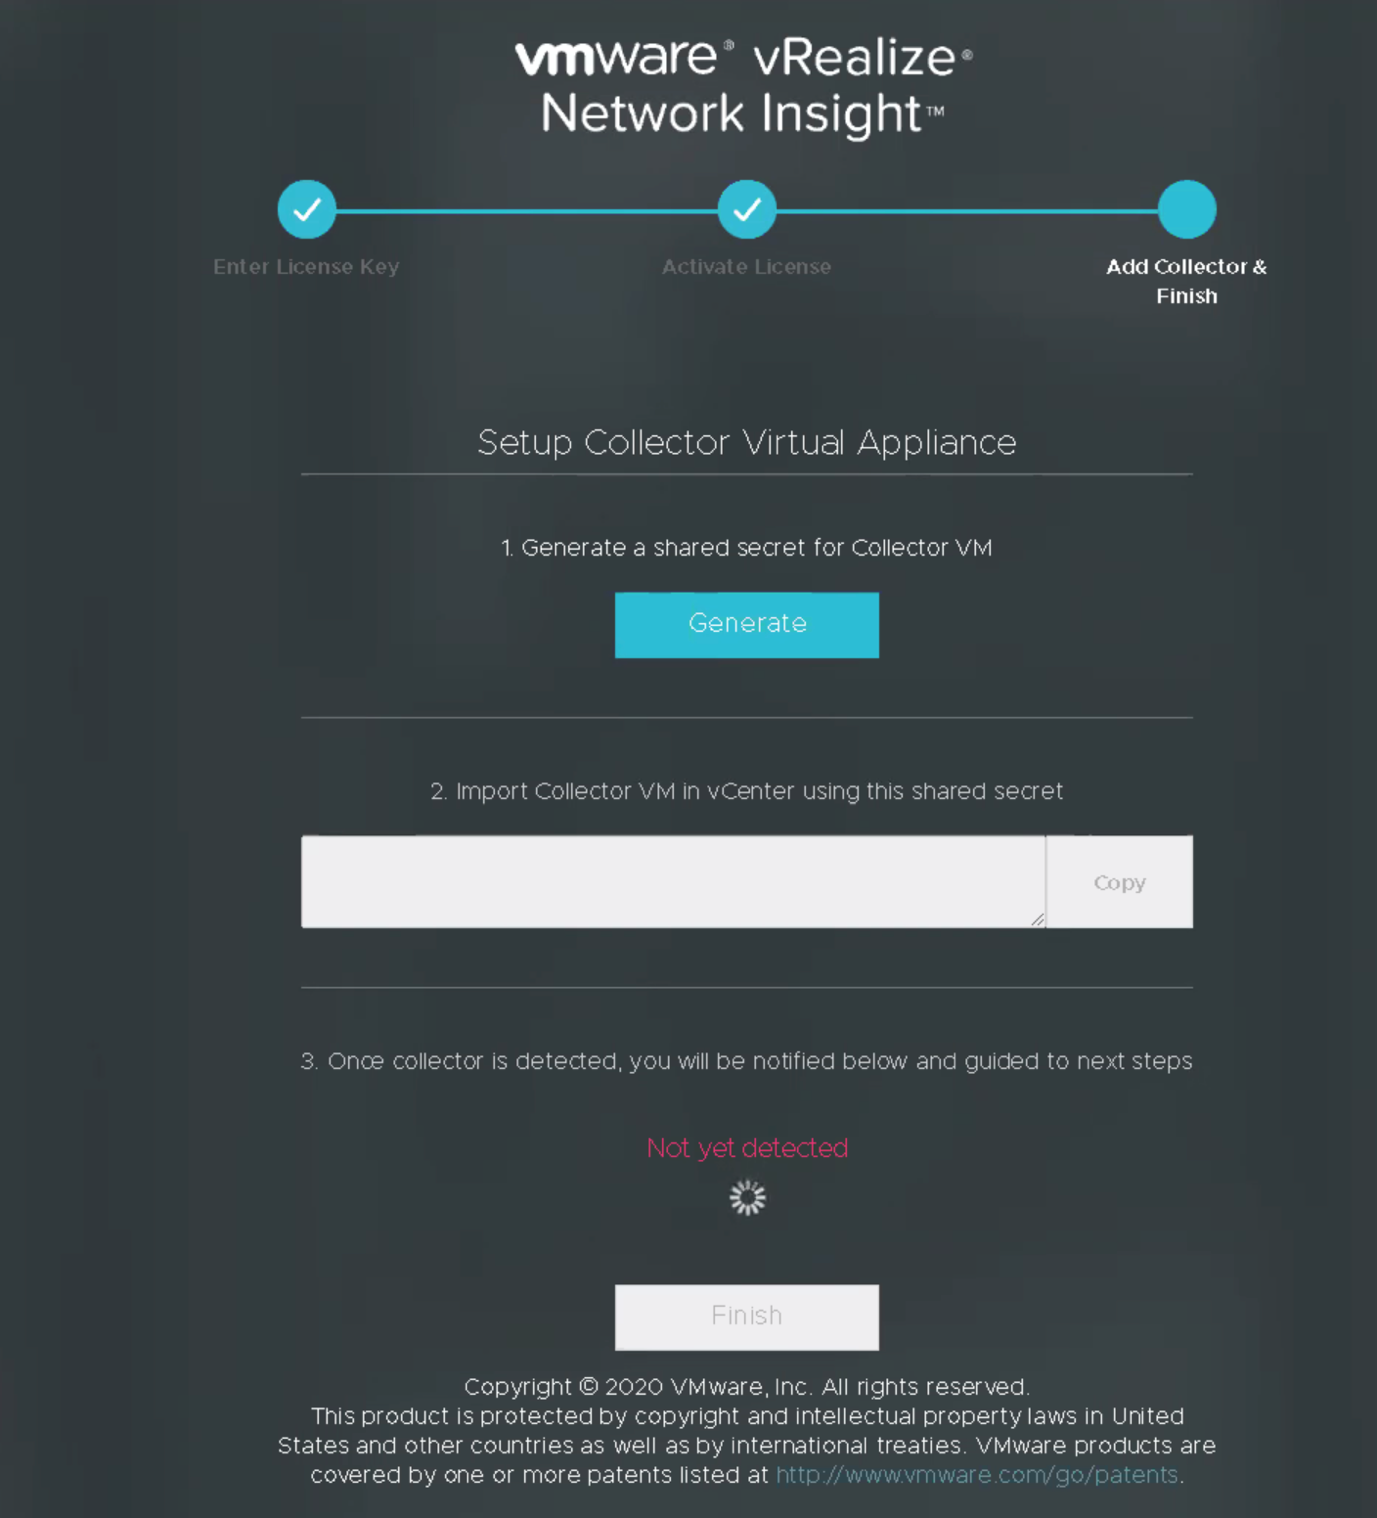
Once the shared secret has been created, copy it. We need it for our deployment of the vRNI collector / proxy. 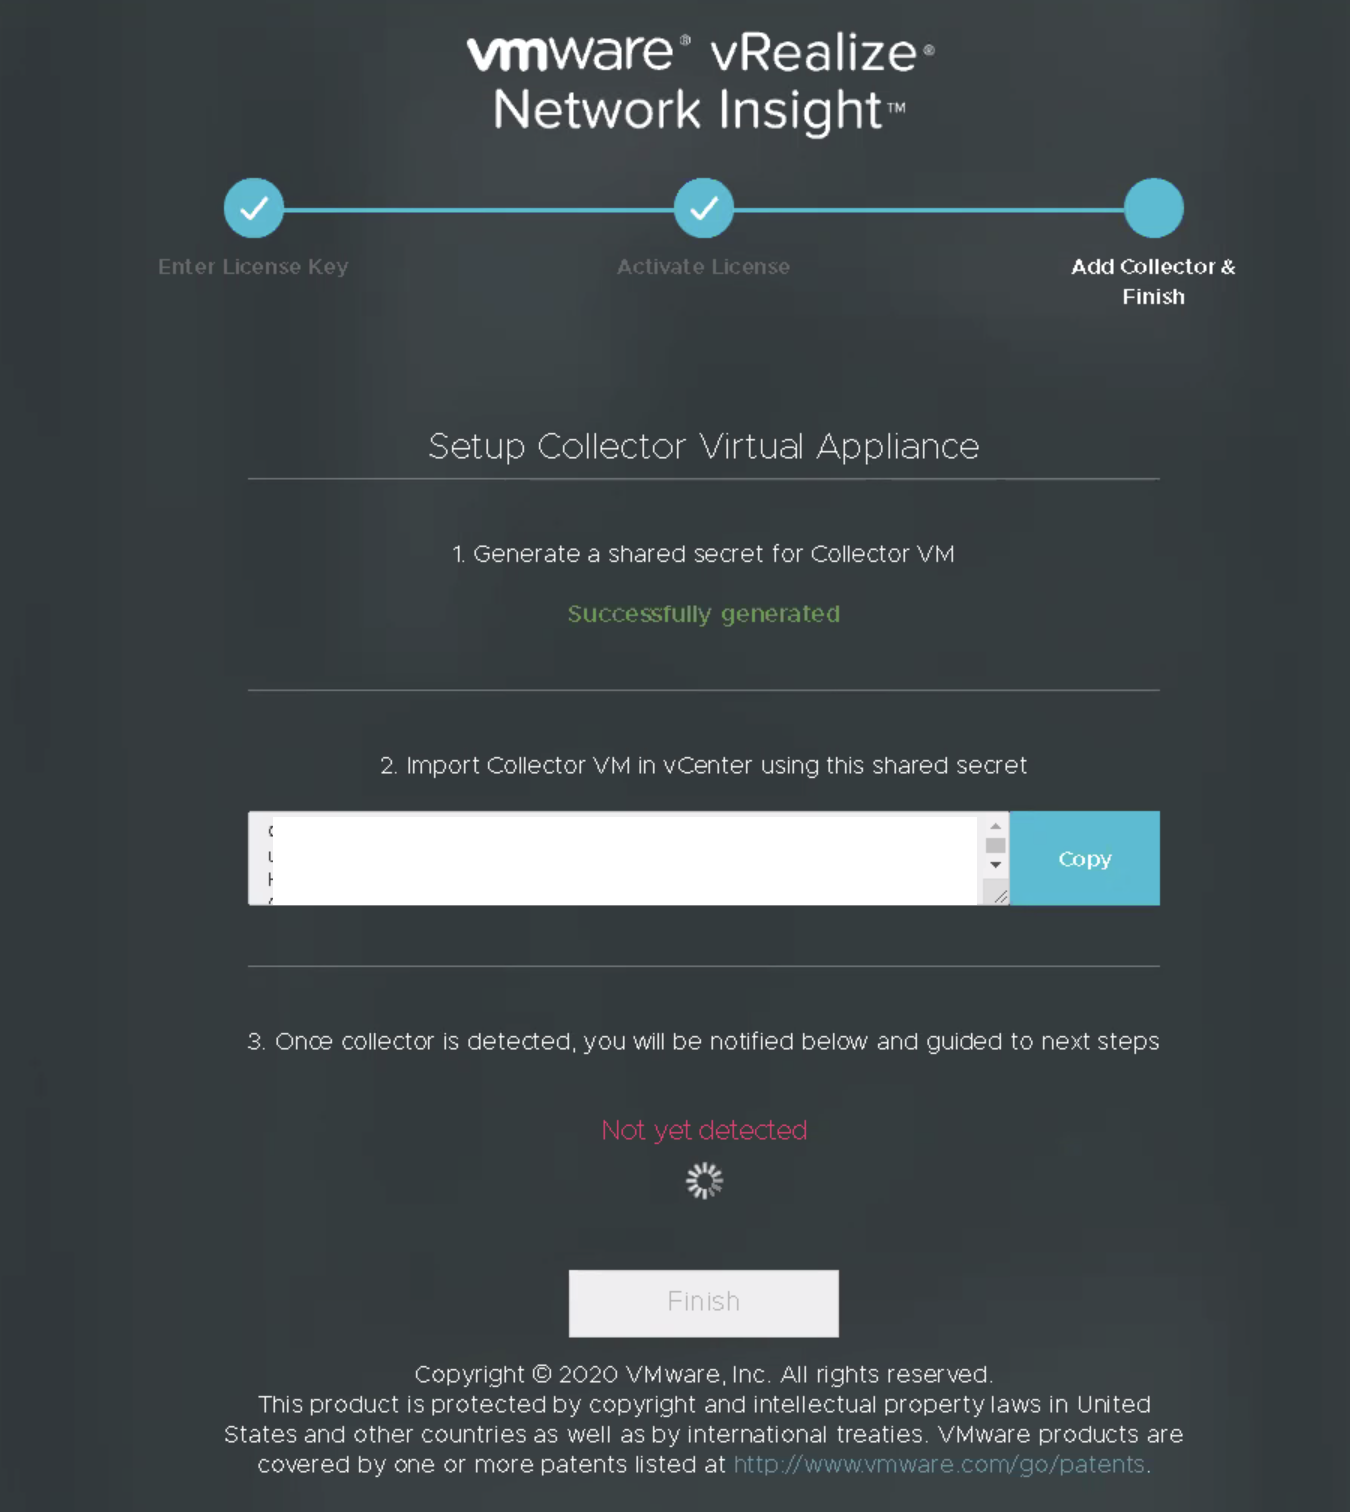
Go the vCenter where you want to deploy the Proxy / Collector appliances and select “deploy from ovf template”.
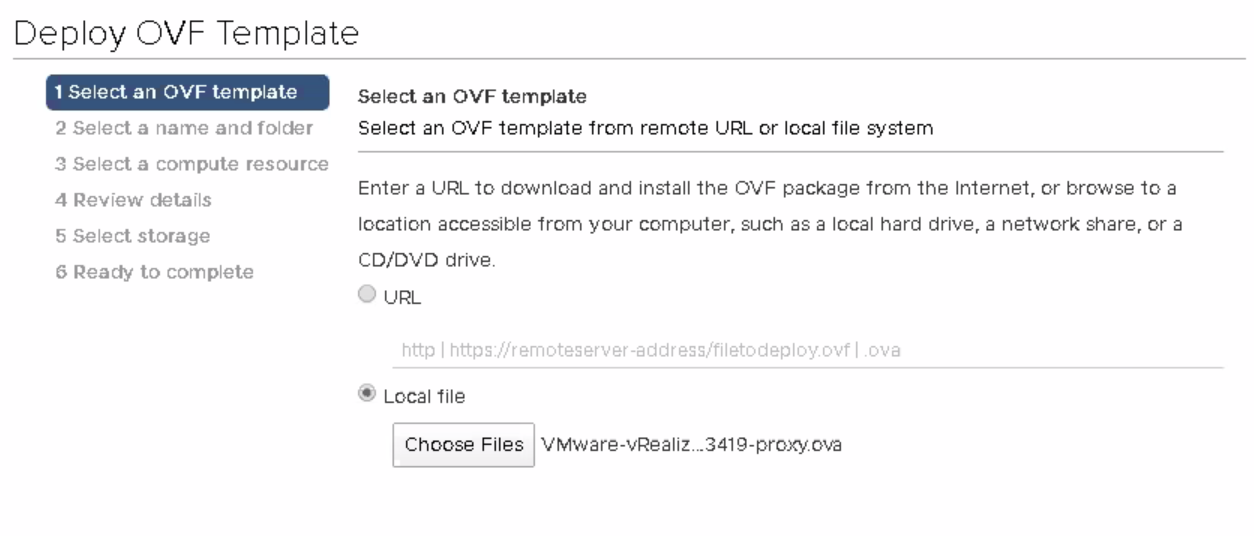
Deploy a new vm from the second ova file.
Give it a name and select the place where you want to create the vm. 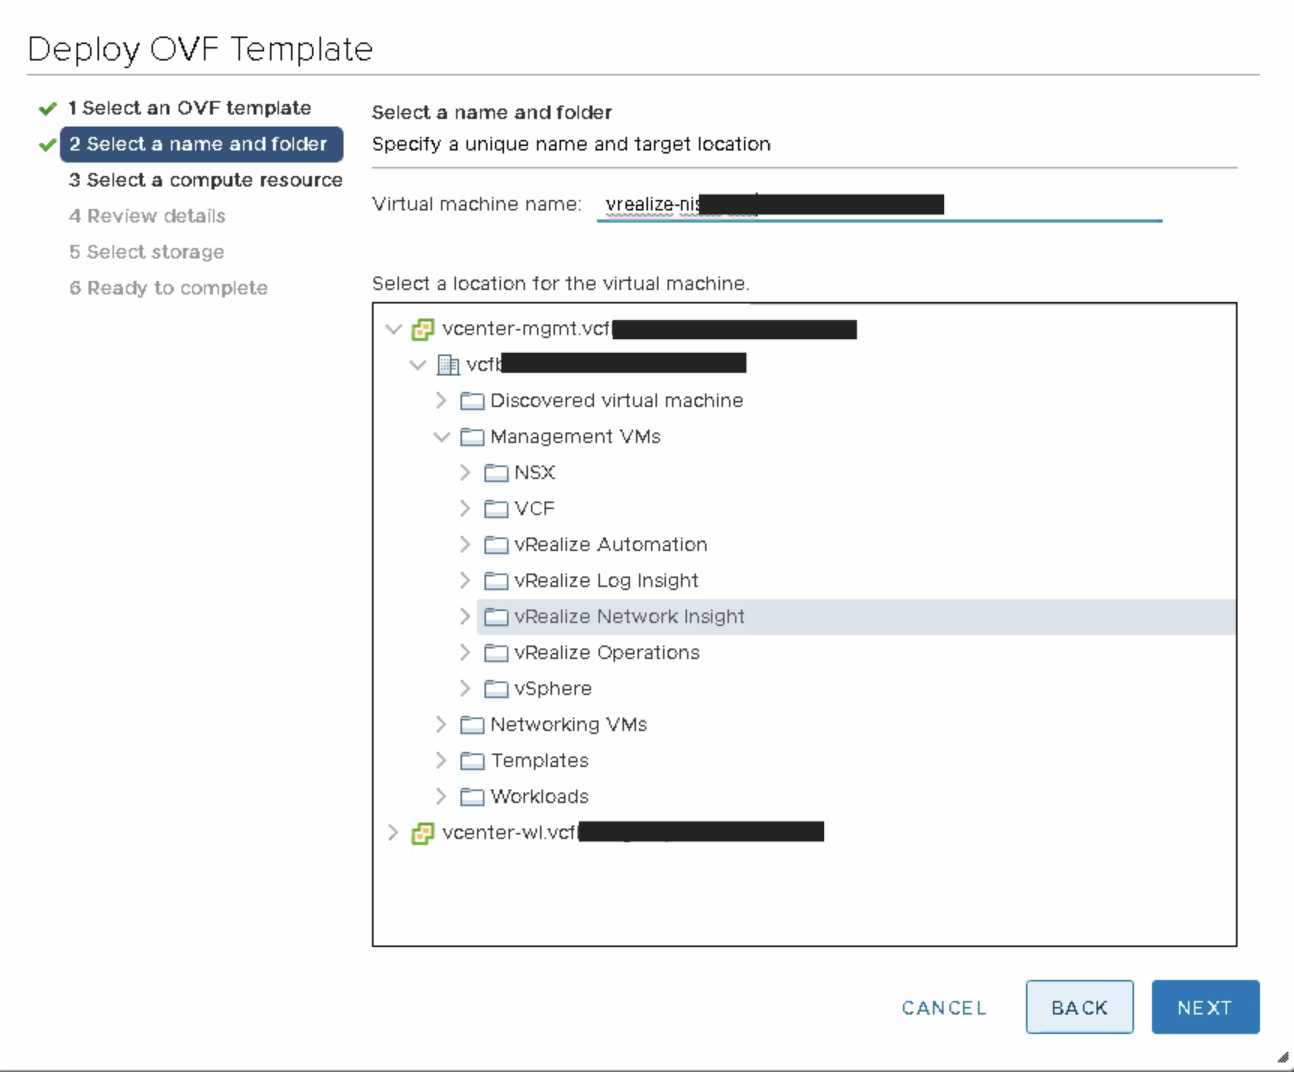
Review the details and click next.
Accept the license agreement and click next.
Select the size of your deployment, in our case medium was good enough, but make sure that the deployment size of your platform is the same as your Platform Appliane.
Select a datastore and click next.
Select the network for your vm.
Now if you haven’t done already, copy the “shared secret” from the webui of the Platform vm and paste it into the next deployment screen.
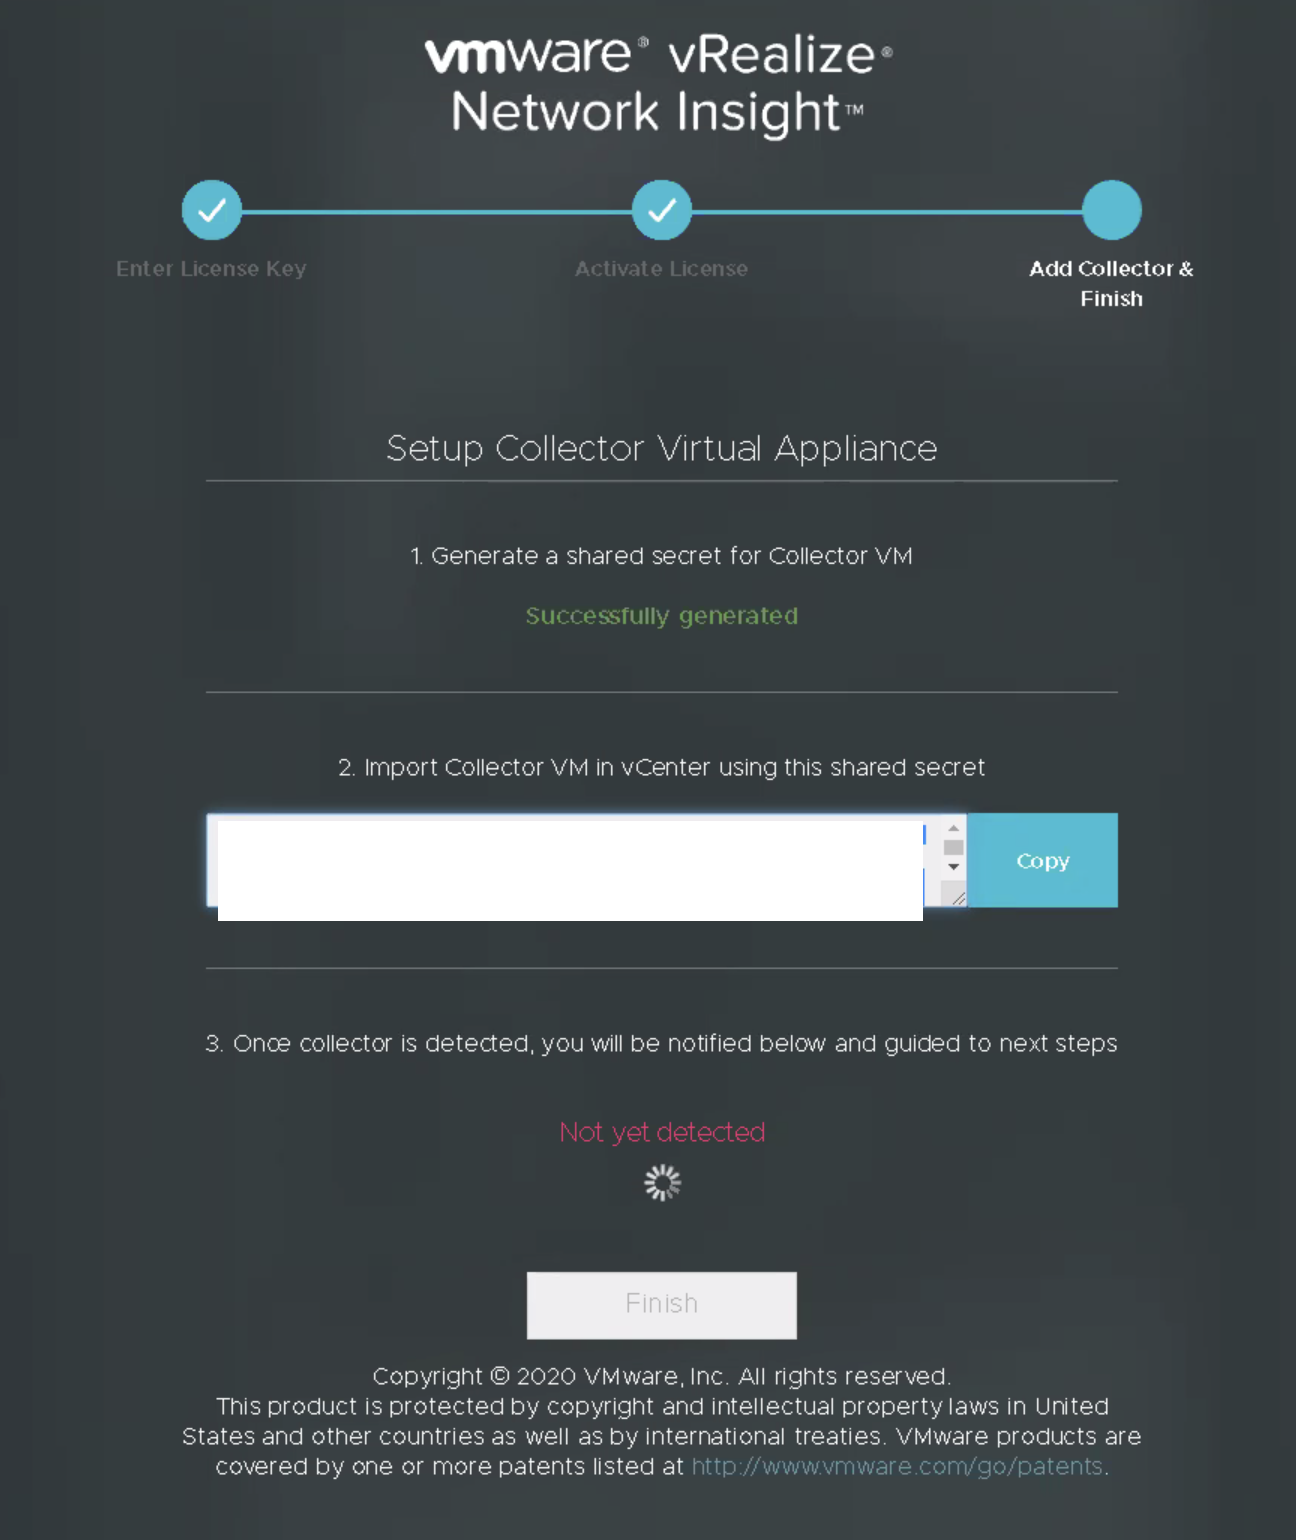
Paste the “shared secret” and click next.
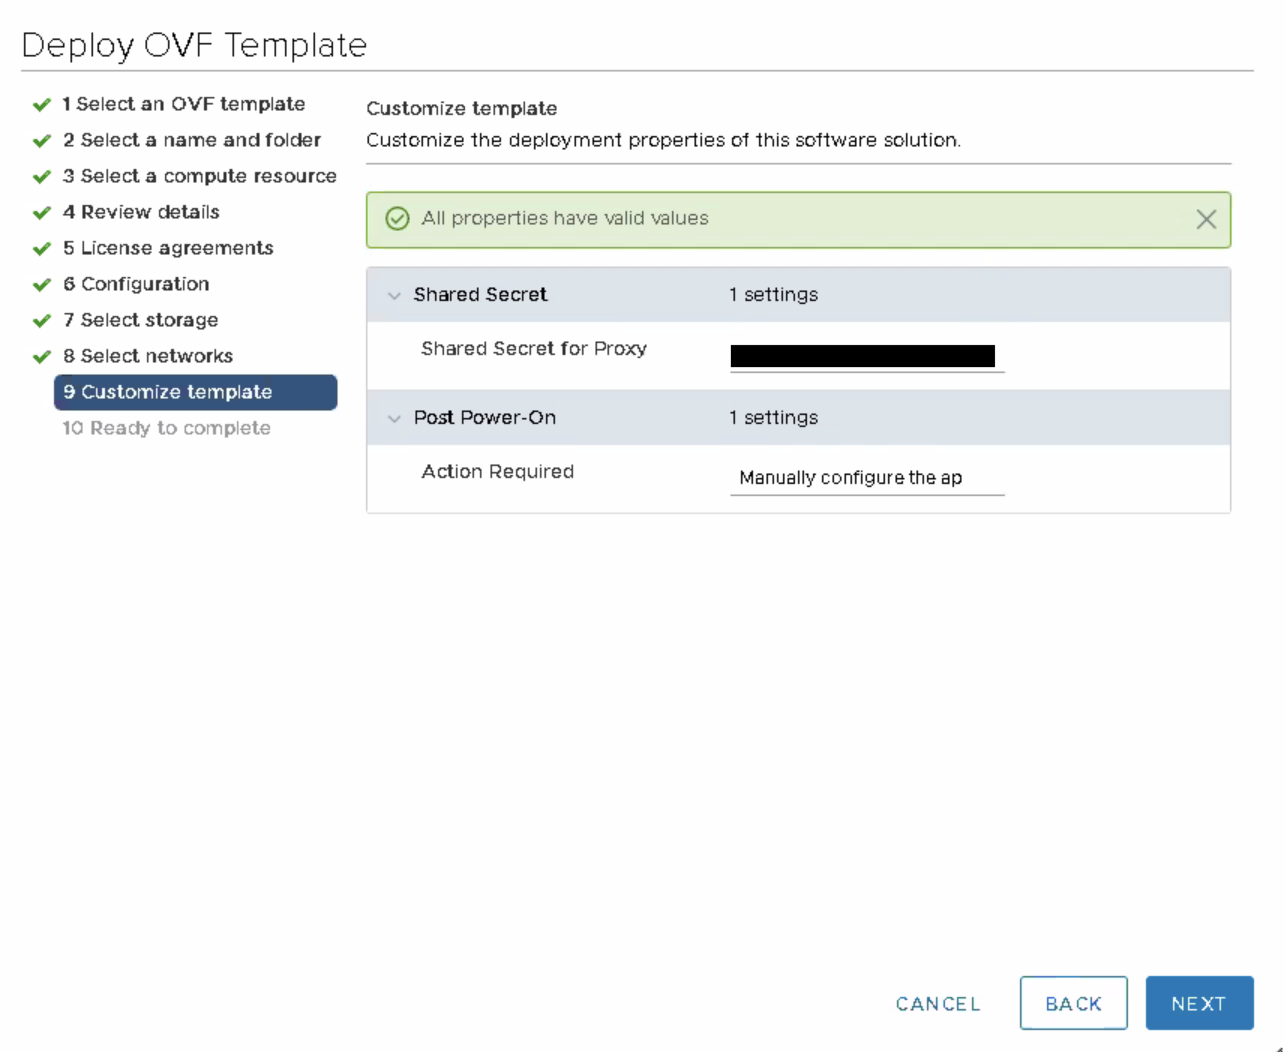
Check the settings in the last step and then finish the deployment.
Next we’re going to open up the console of the Proxy vm.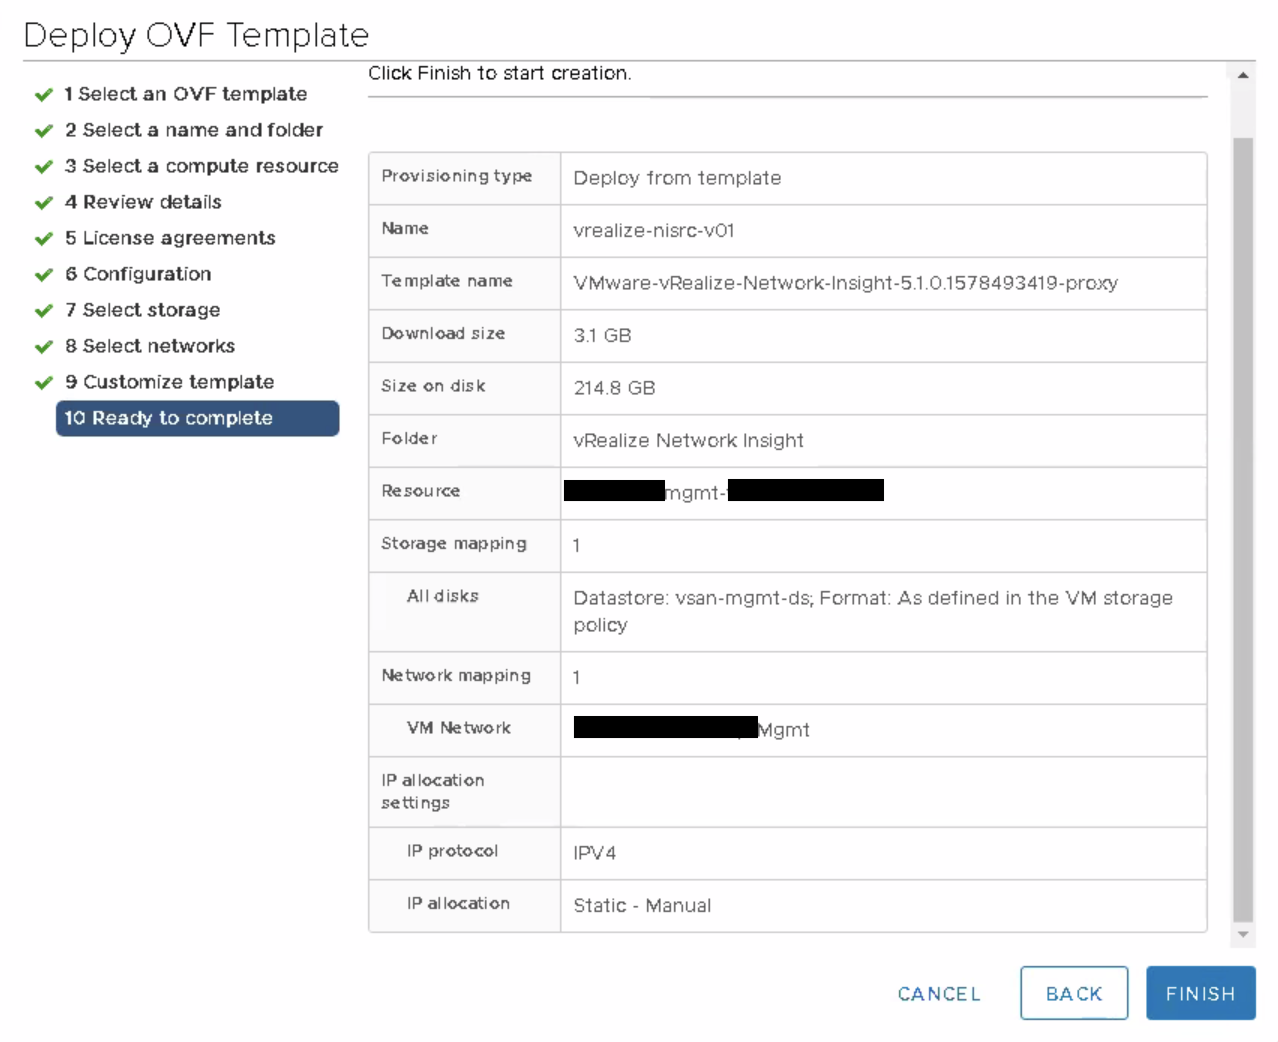
Open up the console, login with the given username and password 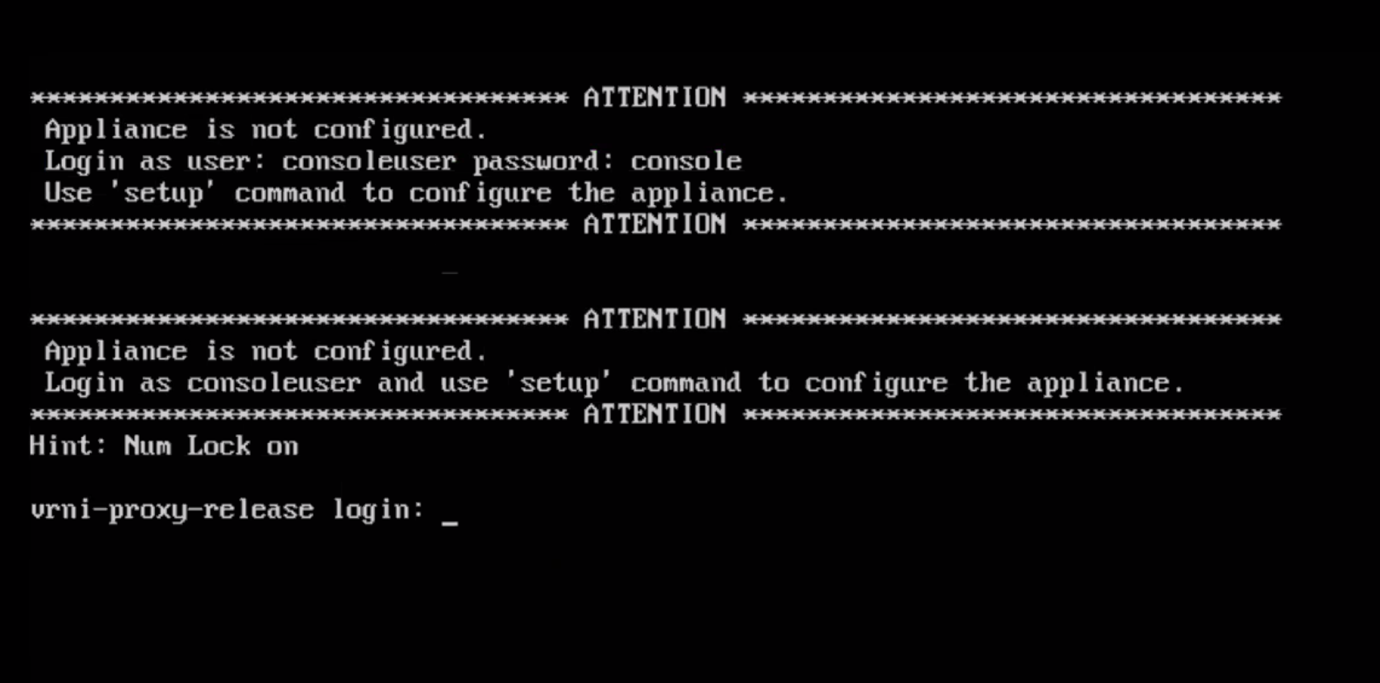
Then type “setup” again and start configuring the vm again.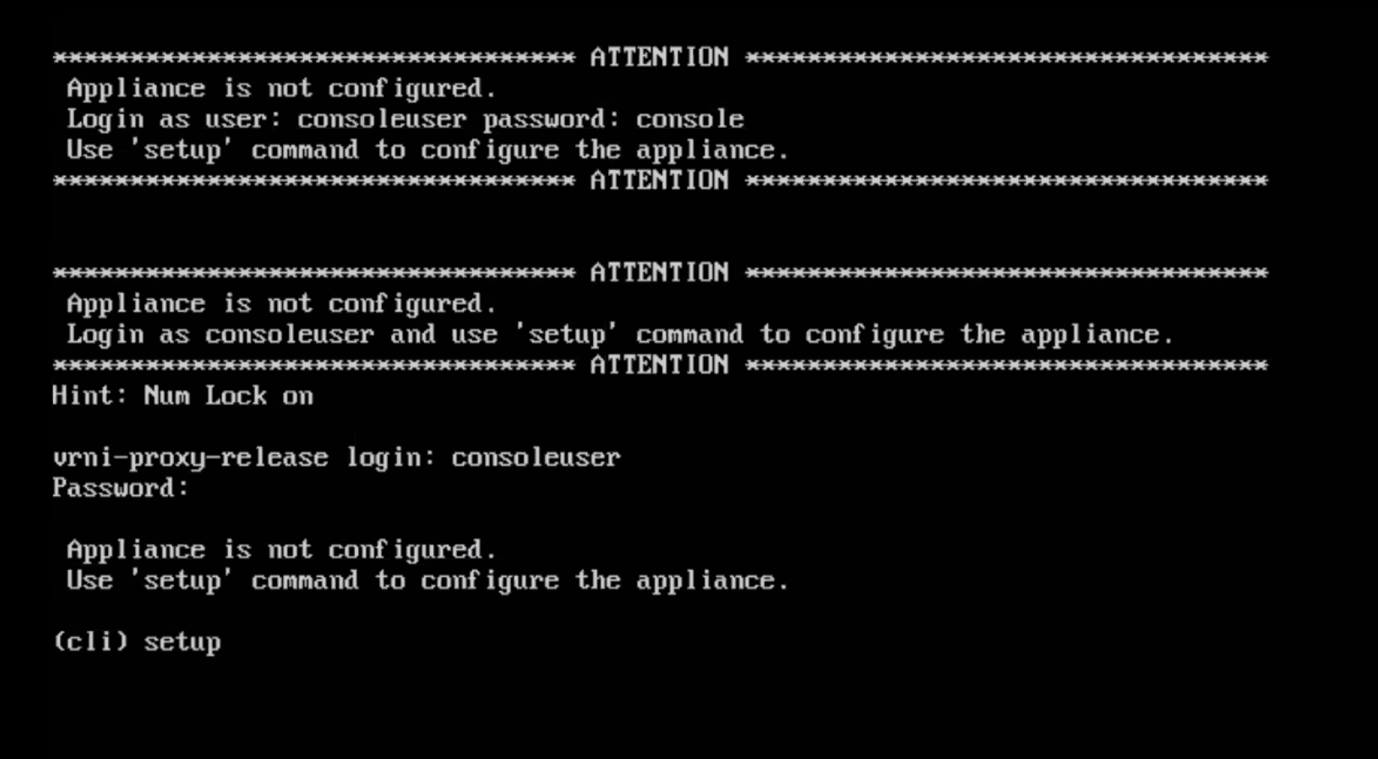
- Step 1 is give a new password for the users “consoleuser” and “support”.
- Step 2 enter the network settings for the proxy vm.
- Step 3 enter the NTP settings.
- Step 4 if needed, give up a webproxy
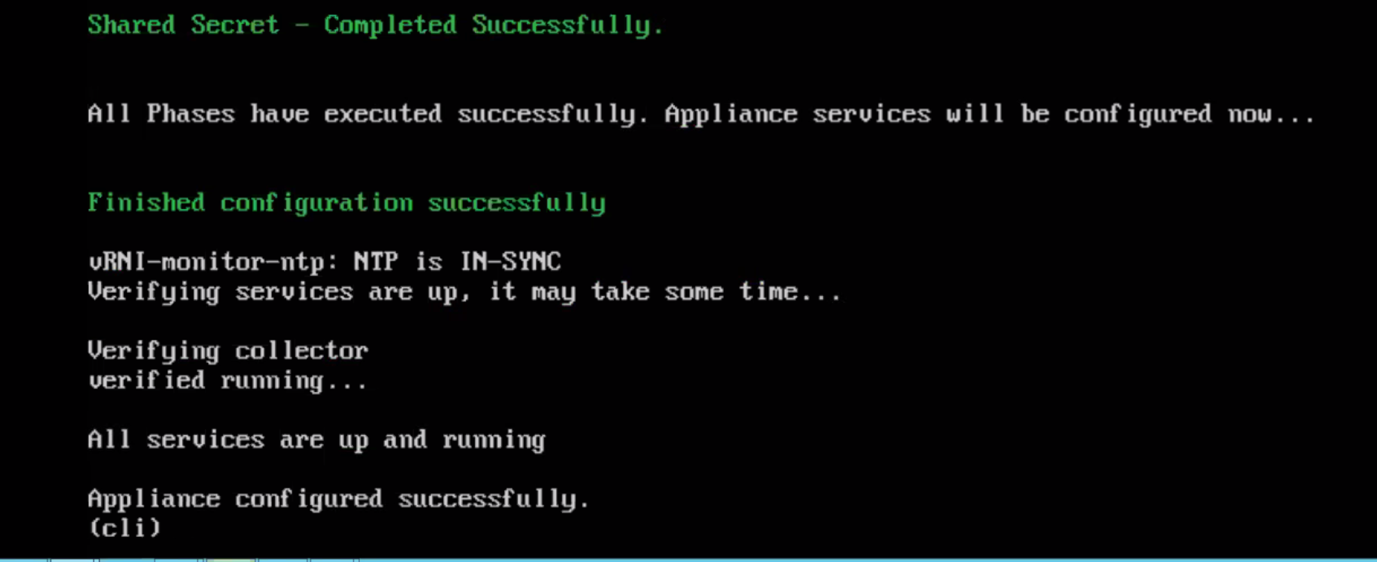
- Step 5 it is checking your “shared secret”.

If everything went successful the configuration will be completed and you can check webui of the Platform vm to see if it finds the proxy vm.
As you see, the proxy vm has been detected by the vRNI Platfrom vm. You can now finish the setup. 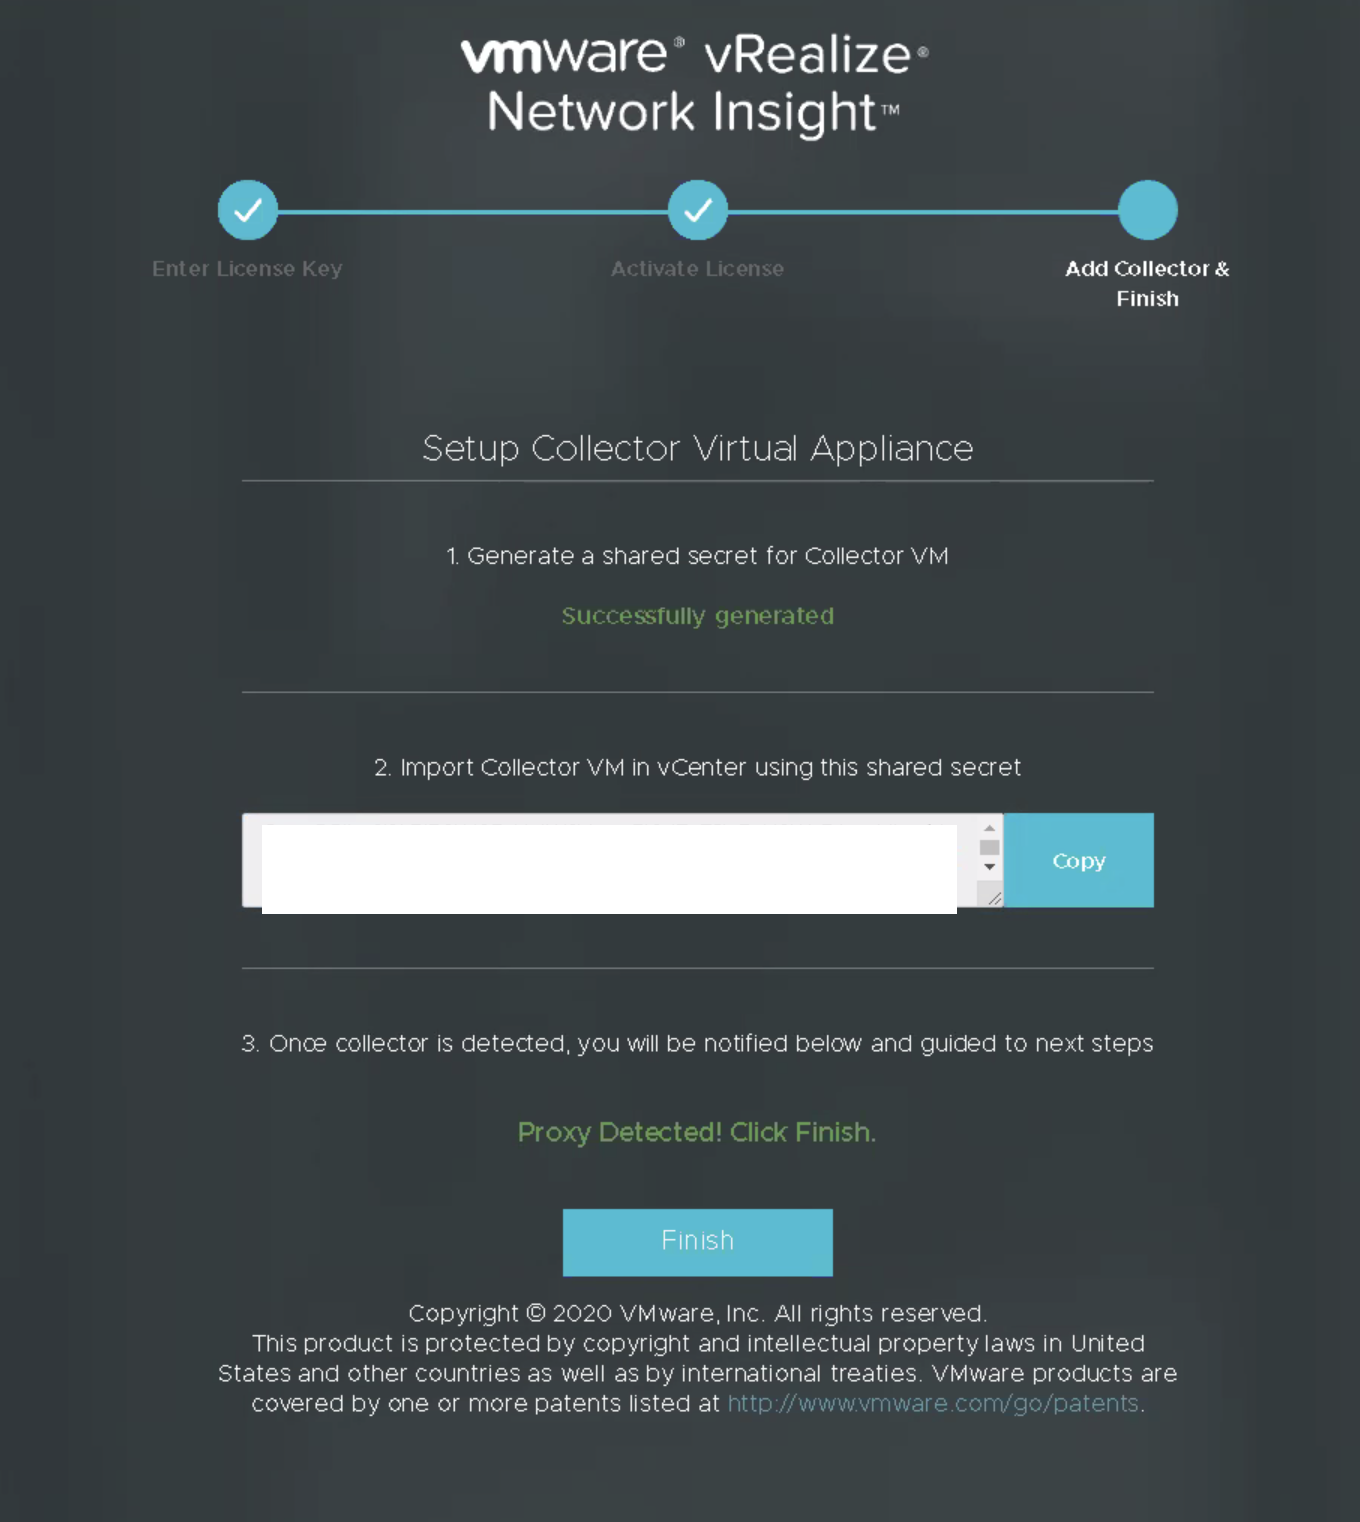
Next login with “admin@local” and the password that you configured during the setup. 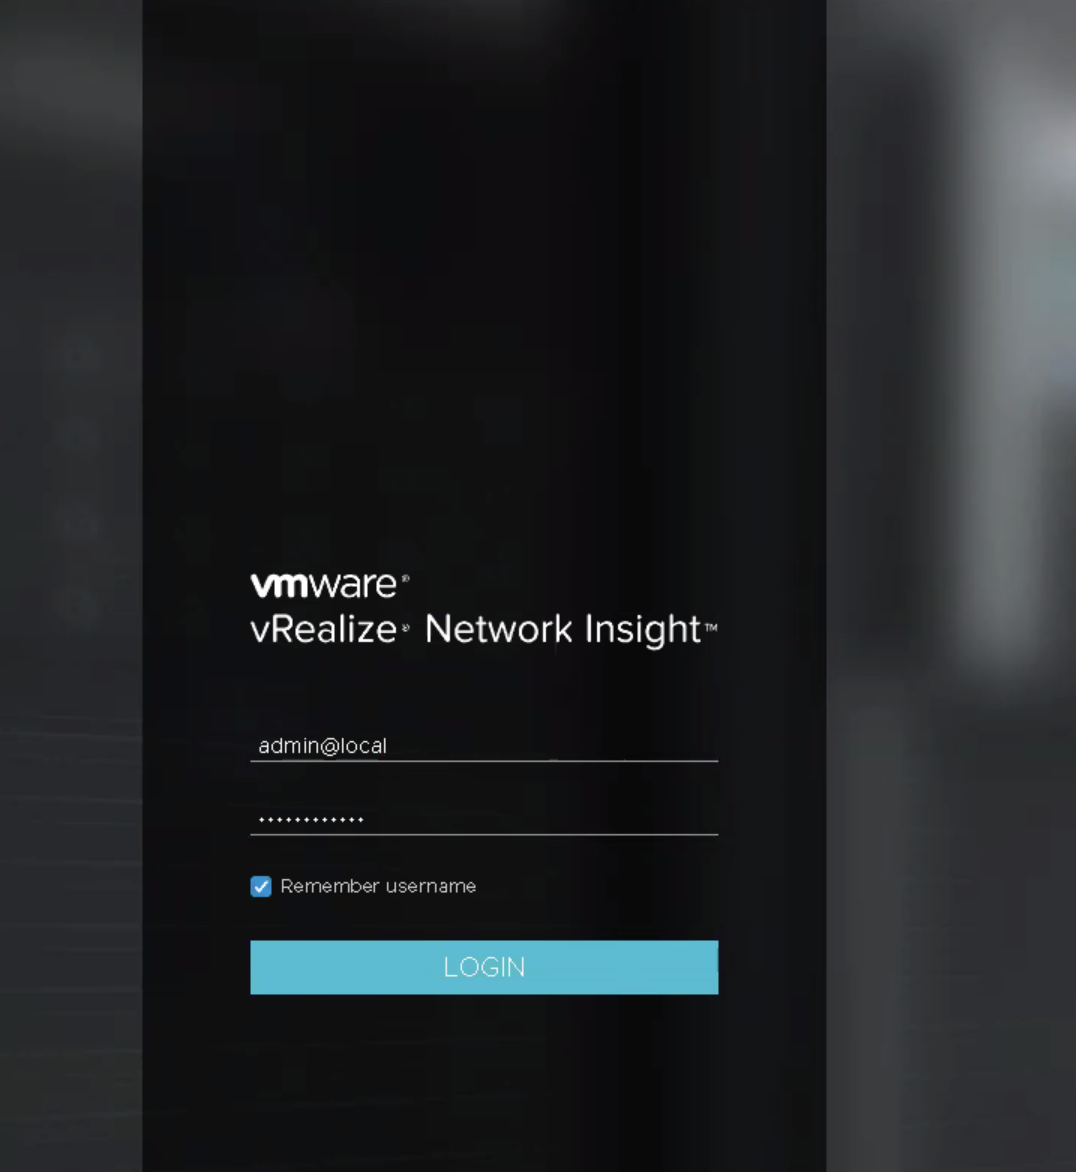
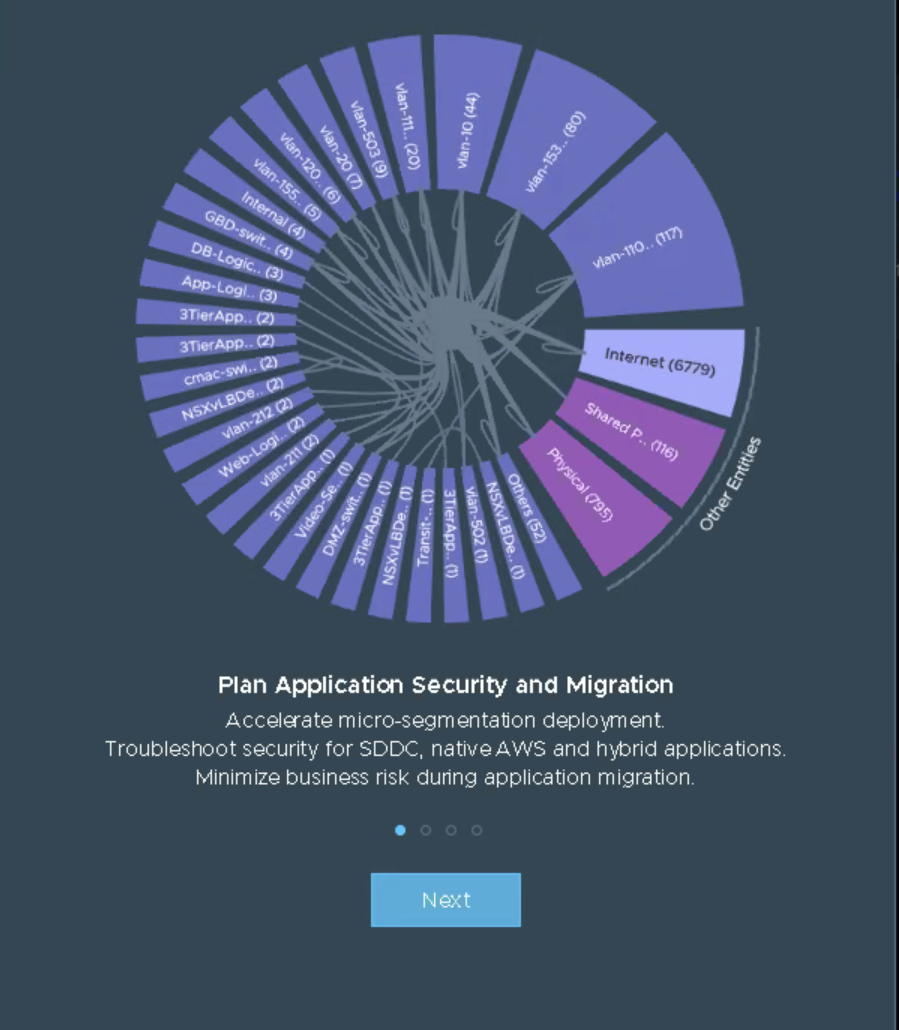
It will show you an introduction page of vRNI. Explore it or click next.
You can always check it out later as well.
Congratulations!!!
You’ve just deployed vRNI and connected the proxy vm with your Platform vm.
Next up is the configuration of the vRNI so that it can start receiving data from vCenter and other data sources.
2.0 Configuring Datasources for vRealize Network Insight
We start with adding the vCenter as a data source. Click the settings icon in the upper right corner.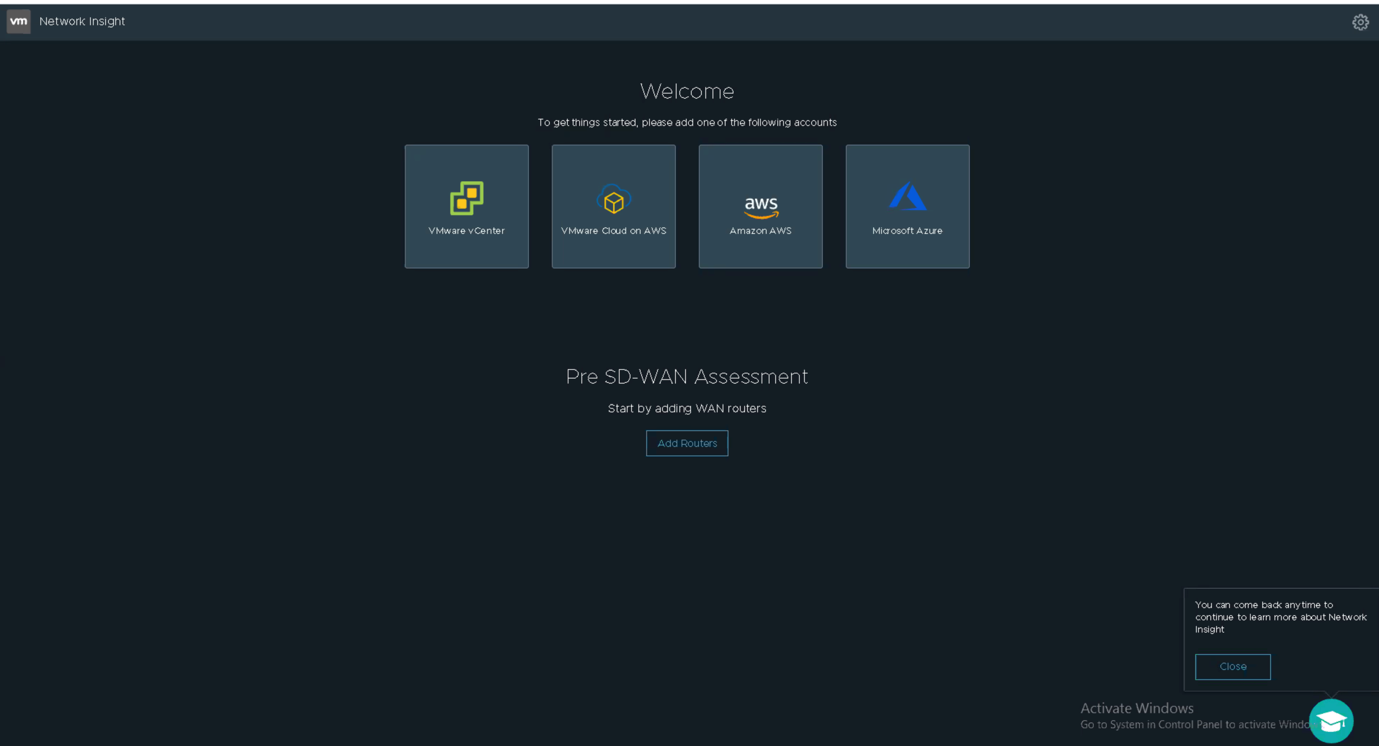
Enter the vCenter settings of the one that you want to configure, validate it, and then enable the IPFIX setting which enables Netflow. You can choose to do this for one dvswitch and one portgroup or for all of them.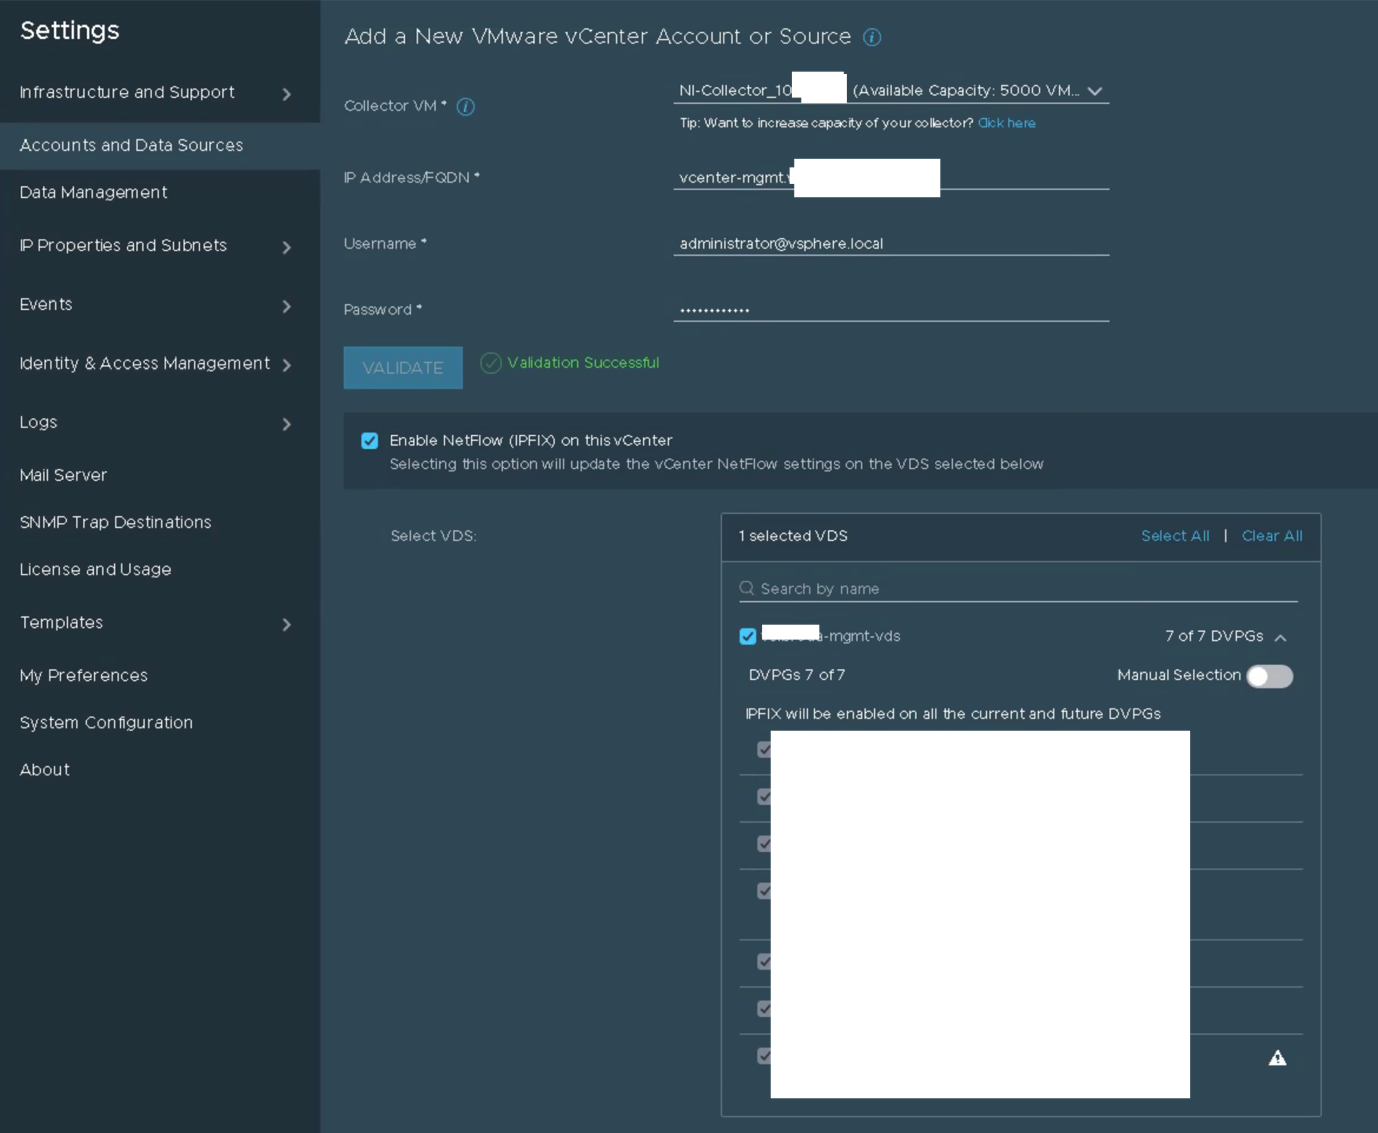
After that you’re finished and you can repeat the steps for other vCenters or other data sources like the NSX-V mangers.
That’s it, hoped you get some value out of it this.

Samir is the author of vSAM.Pro & a Life enthusiast who works as a consultant in the field of IT. With a great passion for Tech & Personal Development, he loves to help people with their problems, but also inspire them with a positive outlook on life.
Besides that, he is also a big Sport & Music junky that loves to spend a big chunk of his time on producing music or physically stretching himself.